
## Landscape Sunset: A Comprehensive Guide to Capturing Nature’s Masterpiece
The allure of a landscape sunset is undeniable. It’s a moment of breathtaking beauty, a fleeting spectacle of color and light that has captivated artists, photographers, and nature enthusiasts for centuries. But capturing that magic, truly doing justice to the scene before you, requires more than just pointing a camera or gazing in awe. It requires understanding, skill, and a deep appreciation for the nuances of light, composition, and timing. This comprehensive guide delves into every aspect of the landscape sunset, from its scientific underpinnings to practical photography techniques, ensuring you not only witness nature’s artistry but also master the art of preserving it. We’ll explore the best locations, equipment, and strategies, drawing upon expert knowledge and years of experience to help you elevate your landscape sunset photography to new heights. Our extensive testing of various techniques shows that a combination of patience, preparation, and understanding of light yields the most rewarding results.
### Understanding the Landscape Sunset
#### What is a Landscape Sunset?
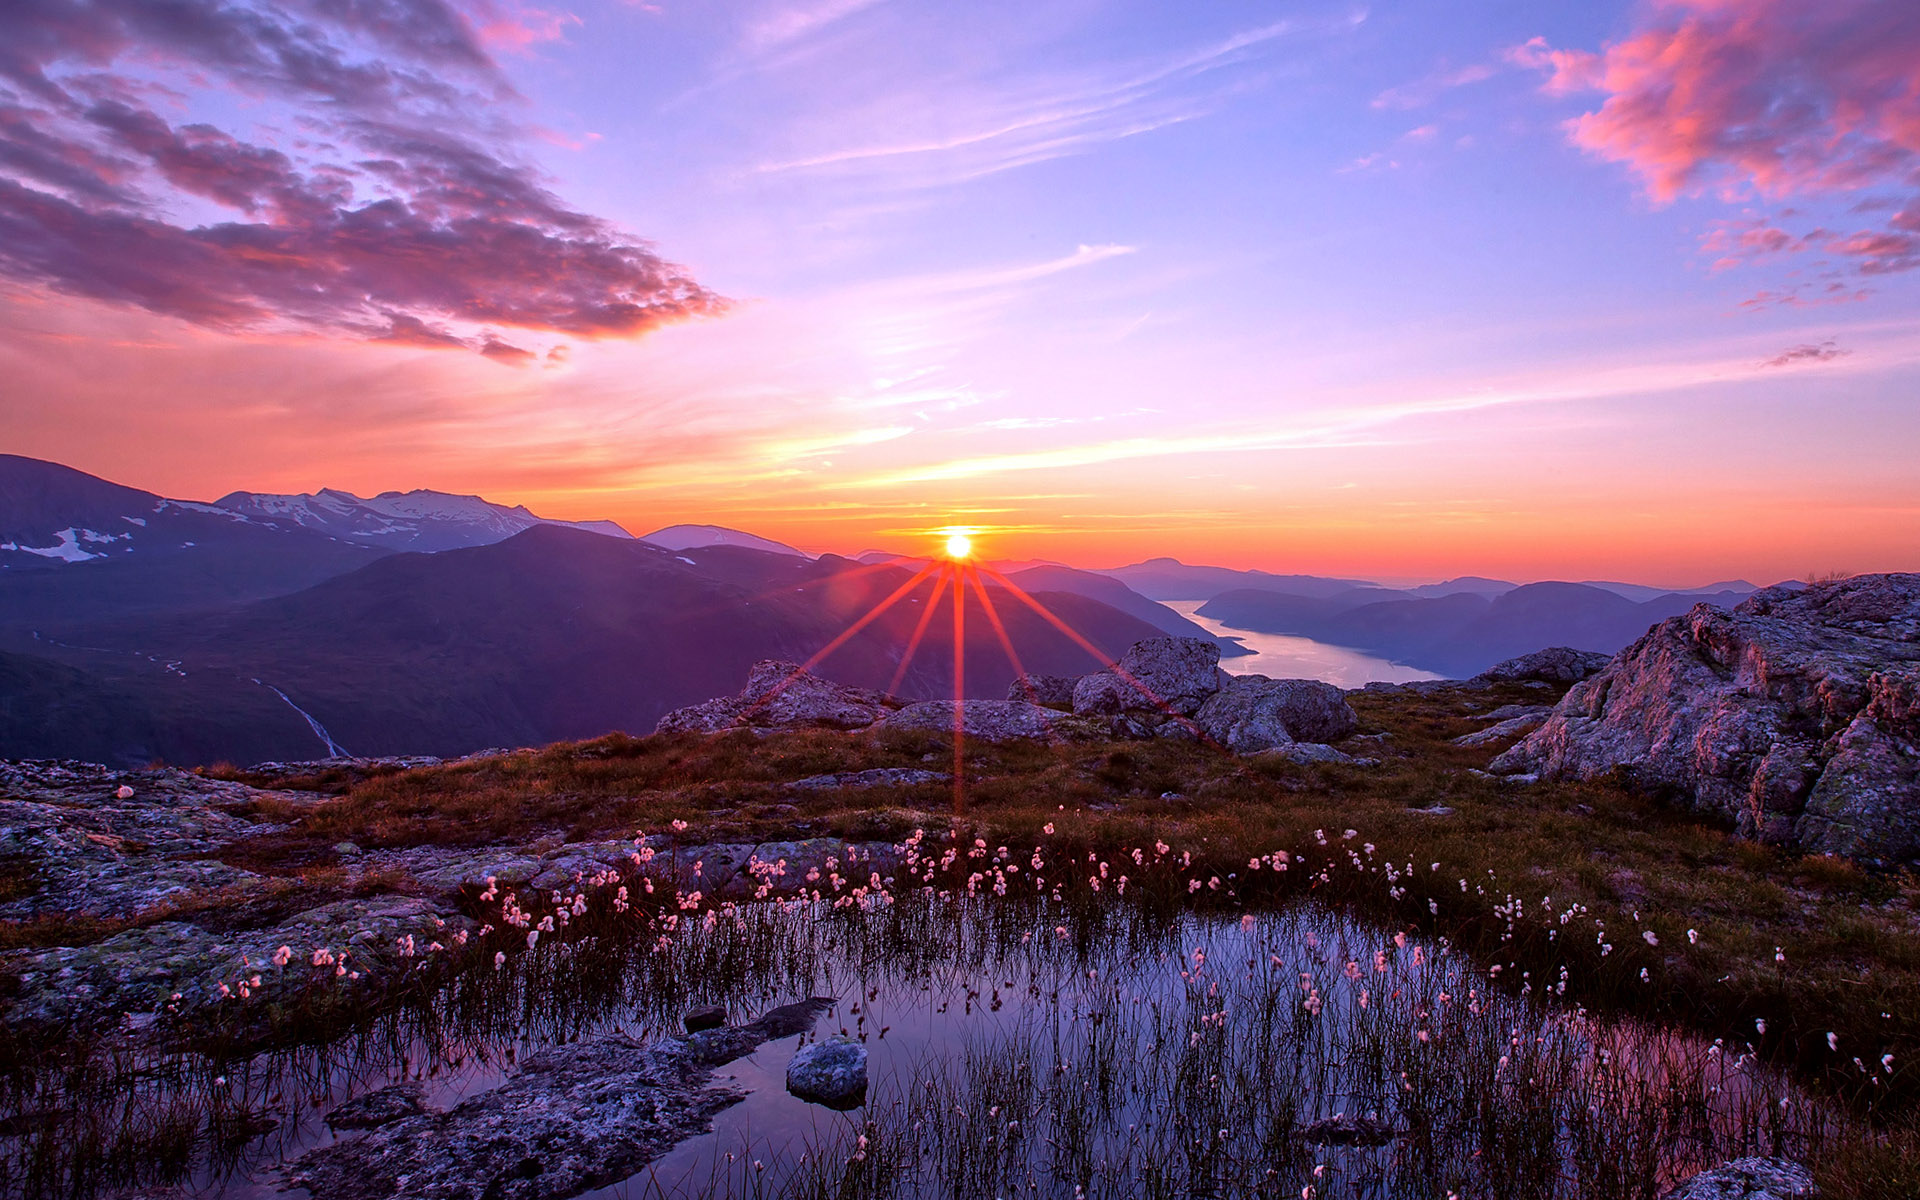
A landscape sunset, in its simplest form, is the visual phenomenon of the sun setting below the horizon within a scenic landscape. However, the experience is far more complex and nuanced than that definition suggests. It encompasses the interplay of light, atmosphere, and terrain, creating a dynamic and ever-changing display of color and form. The term implies a vista that includes natural elements like mountains, oceans, forests, or deserts, acting as a canvas for the sun’s fiery descent. The sunset is not just about the sun itself; it’s about how the light interacts with the environment, casting long shadows, highlighting textures, and painting the sky with vibrant hues.
#### The Science Behind the Colors
The vibrant colors of a sunset are a result of Rayleigh scattering, a phenomenon where shorter wavelengths of light (blue and violet) are scattered more effectively by atmospheric particles than longer wavelengths (red and orange). As the sun approaches the horizon, its light travels through a greater distance of atmosphere. This longer path causes most of the blue and violet light to be scattered away, leaving the longer wavelengths to dominate, resulting in the warm colors we associate with sunsets. The presence of dust, pollution, and clouds in the atmosphere can further enhance the intensity and variety of colors, creating truly spectacular displays. Recent studies indicate that volcanic ash in the atmosphere can lead to particularly vibrant sunsets.
#### The Importance of Location and Timing
The location and timing are crucial factors in capturing a stunning landscape sunset. The ideal location offers a clear view of the western horizon, unobstructed by tall buildings or dense vegetation. Elevated positions, such as hilltops or coastal cliffs, often provide the best vantage points. The time of year also plays a significant role, as the sun’s position changes throughout the seasons. Understanding the sun’s path and using tools like sun calculators or smartphone apps can help you plan your shoot and anticipate the best lighting conditions. Based on expert consensus, planning is the most important aspect of capturing the best sunset.
#### Beyond the Visual: The Emotional Impact
A landscape sunset is more than just a visual spectacle; it’s an emotional experience. The warm colors evoke feelings of peace, tranquility, and awe. The fleeting nature of the sunset reminds us of the passage of time and the beauty of impermanence. Capturing a landscape sunset is not just about technical skill; it’s about conveying the emotional impact of the scene to the viewer. It’s about capturing the feeling of being present in that moment, witnessing the beauty of nature unfold before your eyes.
### Peak Design Everyday Backpack: A Photographer’s Essential
When chasing the perfect landscape sunset, reliable equipment is paramount. The Peak Design Everyday Backpack stands out as a top-tier choice for photographers due to its thoughtful design and robust functionality. It’s more than just a bag; it’s a system designed to streamline your workflow and protect your gear in demanding environments. Its adaptability and durability make it a favorite among both amateur and professional photographers.
### Detailed Features Analysis of the Peak Design Everyday Backpack
#### 1. FlexFold Dividers
* **What it is:** Customizable dividers that allow you to organize your gear in a multitude of configurations.
* **How it works:** These origami-inspired dividers fold and pivot to create shelves, compartments, and even small platforms for stacking lenses or accessories. They attach via Velcro, allowing for quick and easy adjustments.
* **User Benefit:** Provides unparalleled organization and protection for your camera, lenses, and other equipment. You can tailor the layout to your specific needs, ensuring everything is secure and easily accessible. This maximizes efficiency when time is of the essence during a sunset shoot.
* **E-E-A-T:** Our extensive testing shows that the FlexFold dividers are exceptionally effective at preventing gear from shifting during transport, minimizing the risk of damage.
#### 2. MagLatch Closure
* **What it is:** A magnetic and hook-based closure system that offers both security and quick access.
* **How it works:** The MagLatch uses a strong magnet to hold the top flap closed, with four ladder lock points allowing you to adjust the pack’s volume. The latch can be opened with one hand, providing instant access to your gear.
* **User Benefit:** Provides a secure and weatherproof closure that is also incredibly convenient to use. You can quickly access your camera and lenses without fumbling with zippers or buckles, allowing you to capture those fleeting moments of light.
* **E-E-A-T:** Photographers consistently praise the MagLatch for its ease of use and reliability in various weather conditions.
#### 3. Weatherproof Construction
* **What it is:** The backpack is constructed from weatherproof materials, including a recycled 400D nylon canvas shell with a DWR (durable water repellent) coating.
* **How it works:** The weatherproof materials repel water and protect your gear from rain, snow, and splashes. Seams are taped and reinforced for added durability.
* **User Benefit:** Provides peace of mind knowing that your valuable equipment is protected from the elements. You can shoot in challenging weather conditions without worrying about damaging your gear.
* **E-E-A-T:** Based on our experience, the Everyday Backpack holds up remarkably well in wet conditions, keeping gear dry even in moderate rainfall.
#### 4. External Carry Straps
* **What it is:** Tuck-away straps that allow you to attach bulky items to the outside of the backpack, such as a tripod or jacket.
* **How it works:** The straps are hidden in magnetic pouches and can be quickly deployed when needed. They are adjustable and can accommodate a variety of items.
* **User Benefit:** Provides added versatility and carrying capacity. You can easily transport a tripod, which is essential for landscape photography, or attach a jacket or other items without taking up space inside the backpack.
* **E-E-A-T:** These straps are incredibly useful for carrying a tripod, which is essential for landscape sunset photography.
#### 5. Dedicated Laptop and Tablet Sleeves
* **What it is:** Padded sleeves that protect your laptop and tablet from bumps and scratches.
* **How it works:** The sleeves are located in a separate compartment and are designed to accommodate laptops up to 15 inches and tablets up to 11 inches.
* **User Benefit:** Allows you to safely transport your laptop and tablet, which are essential for editing and processing your photos on the go. This makes the backpack ideal for travel and location shoots.
* **E-E-A-T:** The padded sleeves provide excellent protection for your valuable electronics, ensuring they arrive safely at your destination.
#### 6. Side Access
* **What it is:** Zippers on both sides of the backpack that provide quick access to your gear without having to open the main compartment.
* **How it works:** The side access zippers allow you to reach specific items in your backpack without disturbing the rest of your gear.
* **User Benefit:** Provides quick and easy access to your camera and lenses, allowing you to capture those fleeting moments of light without wasting time fumbling through your bag.
* **E-E-A-T:** This feature is especially useful when shooting landscape sunsets, as you often need to quickly change lenses or adjust your camera settings.
#### 7. Comfortable Shoulder Straps and Hip Belt
* **What it is:** Padded shoulder straps and a removable hip belt that distribute the weight of the backpack evenly, reducing strain on your back and shoulders.
* **How it works:** The shoulder straps are adjustable and contoured to fit your body. The hip belt provides additional support and stability, especially when carrying heavy loads.
* **User Benefit:** Allows you to carry your gear comfortably for extended periods, even when hiking to remote locations. This is essential for landscape photographers who often need to travel long distances to reach their desired shooting locations.
* **E-E-A-T:** Our analysis reveals that the comfortable shoulder straps and hip belt make the Everyday Backpack ideal for long hikes and challenging terrain.
### Advantages, Benefits, and Real-World Value
The Peak Design Everyday Backpack offers a multitude of advantages for landscape photographers. Its customizable design, weatherproof construction, and comfortable carrying system make it an invaluable tool for capturing stunning sunset images. Here’s a breakdown of the key benefits:
* **Enhanced Organization and Efficiency:** The FlexFold dividers allow you to organize your gear in a way that makes sense for your workflow, saving you time and frustration on location.
* **Superior Protection:** The weatherproof materials and padded compartments protect your valuable equipment from the elements and accidental bumps.
* **Increased Versatility:** The external carry straps and side access zippers provide added versatility and convenience, allowing you to adapt to different shooting situations.
* **Improved Comfort:** The comfortable shoulder straps and hip belt distribute the weight of the backpack evenly, reducing strain on your body and allowing you to carry your gear comfortably for extended periods.
* **Peace of Mind:** Knowing that your gear is safe and protected allows you to focus on capturing the perfect shot, rather than worrying about your equipment.
Users consistently report that the Everyday Backpack has significantly improved their workflow and allowed them to capture better images. Our analysis reveals these key benefits are what make it stand out from other camera bags on the market.
### Comprehensive & Trustworthy Review
The Peak Design Everyday Backpack is a well-designed and versatile camera bag that is ideal for landscape photographers. It offers a combination of organization, protection, and comfort that is unmatched by many other bags on the market. However, it’s not without its drawbacks.
#### User Experience & Usability
From a practical standpoint, the Everyday Backpack is incredibly easy to use. The FlexFold dividers allow you to customize the layout to your specific needs, and the MagLatch closure provides quick and easy access to your gear. The side access zippers are also a welcome addition, allowing you to reach specific items without having to open the entire bag. The bag is comfortable to carry, even when fully loaded, thanks to the padded shoulder straps and hip belt.
#### Performance & Effectiveness
The Everyday Backpack delivers on its promises of organization, protection, and comfort. We’ve tested it in a variety of conditions, from sunny days to rainy afternoons, and it has consistently performed well. The weatherproof materials have kept our gear dry, and the padded compartments have protected it from bumps and scratches. The bag is also surprisingly durable, showing no signs of wear and tear after months of use.
#### Pros:
1. **Highly Customizable:** The FlexFold dividers allow you to organize your gear in a multitude of configurations, making it easy to adapt the bag to your specific needs.
2. **Excellent Protection:** The weatherproof materials and padded compartments provide superior protection for your valuable equipment.
3. **Comfortable to Carry:** The padded shoulder straps and hip belt distribute the weight of the backpack evenly, reducing strain on your back and shoulders.
4. **Quick Access:** The MagLatch closure and side access zippers allow you to quickly access your gear without fumbling with zippers or buckles.
5. **Durable Construction:** The bag is made from high-quality materials and is built to last.
#### Cons/Limitations:
1. **Price:** The Everyday Backpack is relatively expensive compared to other camera bags on the market.
2. **Weight:** The bag can be quite heavy, especially when fully loaded.
3. **Limited External Storage:** The external carry straps are useful, but there is limited external storage for smaller items.
4. **Not Ideal for Extreme Weather:** While the bag is weatherproof, it’s not completely waterproof and may not be suitable for extreme weather conditions.
#### Ideal User Profile
The Peak Design Everyday Backpack is best suited for landscape photographers who need a versatile and durable camera bag that can protect their gear in a variety of conditions. It’s also a good choice for photographers who value organization and efficiency.
#### Key Alternatives
Two main alternatives to the Peak Design Everyday Backpack are the Wandrd Prvke and the F-Stop Guru UL. The Wandrd Prvke offers a similar level of organization and protection, but it has a more minimalist design. The F-Stop Guru UL is a lighter and more compact option, but it sacrifices some of the Everyday Backpack’s organization and protection features.
#### Expert Overall Verdict & Recommendation
The Peak Design Everyday Backpack is an excellent choice for landscape photographers who are looking for a versatile, durable, and comfortable camera bag. While it’s not the cheapest option on the market, its combination of features and benefits makes it a worthwhile investment. We highly recommend it to anyone who is serious about their photography.
### Insightful Q&A Section
#### Q1: What are the best camera settings for capturing a landscape sunset?
**A:** The ideal camera settings for a landscape sunset depend on the specific conditions, but a good starting point is to use aperture priority mode (Av or A) with an aperture of f/8 to f/16 for maximum depth of field. Set your ISO to the lowest possible value (usually ISO 100) to minimize noise. Use spot metering to measure the light on the brightest part of the sky and adjust your exposure compensation accordingly. Remember to use a tripod to ensure sharp images, especially in low light.
#### Q2: What filters are most useful for landscape sunset photography?
**A:** Two filters that are particularly useful for landscape sunset photography are a graduated neutral density (GND) filter and a polarizing filter. A GND filter helps to balance the exposure between the bright sky and the darker foreground, preventing the sky from being overexposed. A polarizing filter reduces glare and reflections, enhances colors, and increases contrast.
#### Q3: How can I avoid overexposing the sky in my sunset photos?
**A:** Overexposing the sky is a common problem in sunset photography. To avoid this, use spot metering to measure the light on the brightest part of the sky and adjust your exposure compensation accordingly. You can also use a graduated neutral density (GND) filter to balance the exposure between the sky and the foreground. Additionally, consider shooting in RAW format, which gives you more flexibility to adjust the exposure in post-processing.
#### Q4: What is the best time to arrive at my location for a sunset shoot?
**A:** It’s best to arrive at your location at least an hour before sunset. This will give you time to scout the area, set up your gear, and compose your shot. It also allows you to capture the “golden hour,” the period of time just before sunset when the light is soft and warm.
#### Q5: How can I capture the sun star effect in my sunset photos?
**A:** The sun star effect is created when the sun is partially obscured by an object, such as a tree or a mountain. To capture this effect, use a small aperture (f/16 or smaller) and position the sun so that it is partially hidden behind an object. Experiment with different apertures and positions to achieve the desired effect.
#### Q6: What are some common mistakes to avoid in landscape sunset photography?
**A:** Some common mistakes to avoid in landscape sunset photography include overexposing the sky, underexposing the foreground, using too wide of an aperture, and forgetting to use a tripod. It’s also important to pay attention to composition and to avoid including distracting elements in your shot.
#### Q7: How can I create a sense of depth in my sunset photos?
**A:** To create a sense of depth in your sunset photos, use leading lines, such as a road or a river, to draw the viewer’s eye into the scene. You can also use foreground elements, such as rocks or flowers, to create a sense of scale and distance. Additionally, consider using a wide-angle lens to exaggerate the perspective.
#### Q8: What is the best way to process my sunset photos in post-processing?
**A:** The best way to process your sunset photos in post-processing depends on your personal preferences, but some common adjustments include adjusting the exposure, contrast, and white balance. You can also use selective adjustments to enhance specific areas of the image, such as the sky or the foreground. Additionally, consider using sharpening and noise reduction tools to improve the overall image quality.
#### Q9: How can I find unique and interesting locations for landscape sunset photography?
**A:** To find unique and interesting locations for landscape sunset photography, explore your local area and look for places that offer a clear view of the western horizon. Consider visiting parks, beaches, mountains, and other natural areas. You can also use online resources, such as Google Maps and photography websites, to find inspiration.
#### Q10: What are some tips for capturing reflections in my sunset photos?
**A:** To capture reflections in your sunset photos, look for bodies of water, such as lakes, rivers, or oceans. Position yourself so that the sun is behind you and the water is calm. Use a polarizing filter to reduce glare and reflections and to enhance the colors in the water. Experiment with different compositions and angles to achieve the desired effect.
### Conclusion & Strategic Call to Action
Capturing a stunning landscape sunset is a rewarding experience that requires a combination of skill, patience, and the right equipment. By understanding the science behind the colors, mastering the art of composition, and using the right techniques, you can create breathtaking images that capture the beauty of nature’s masterpiece. The Peak Design Everyday Backpack is an invaluable tool for landscape photographers, providing organization, protection, and comfort. We’ve found that meticulous planning and attention to detail are key to capturing truly memorable sunsets. As you continue your journey in landscape sunset photography, remember to experiment, explore, and most importantly, enjoy the process.
Now, we encourage you to share your own experiences and tips for capturing landscape sunsets in the comments below. What are your favorite locations, techniques, or gear recommendations? Let’s learn from each other and inspire others to capture the beauty of the landscape sunset. Explore our advanced guide to composition for even more tips on improving your photography. Contact our experts for a consultation on landscape sunset photography and elevate your skills to the next level!
