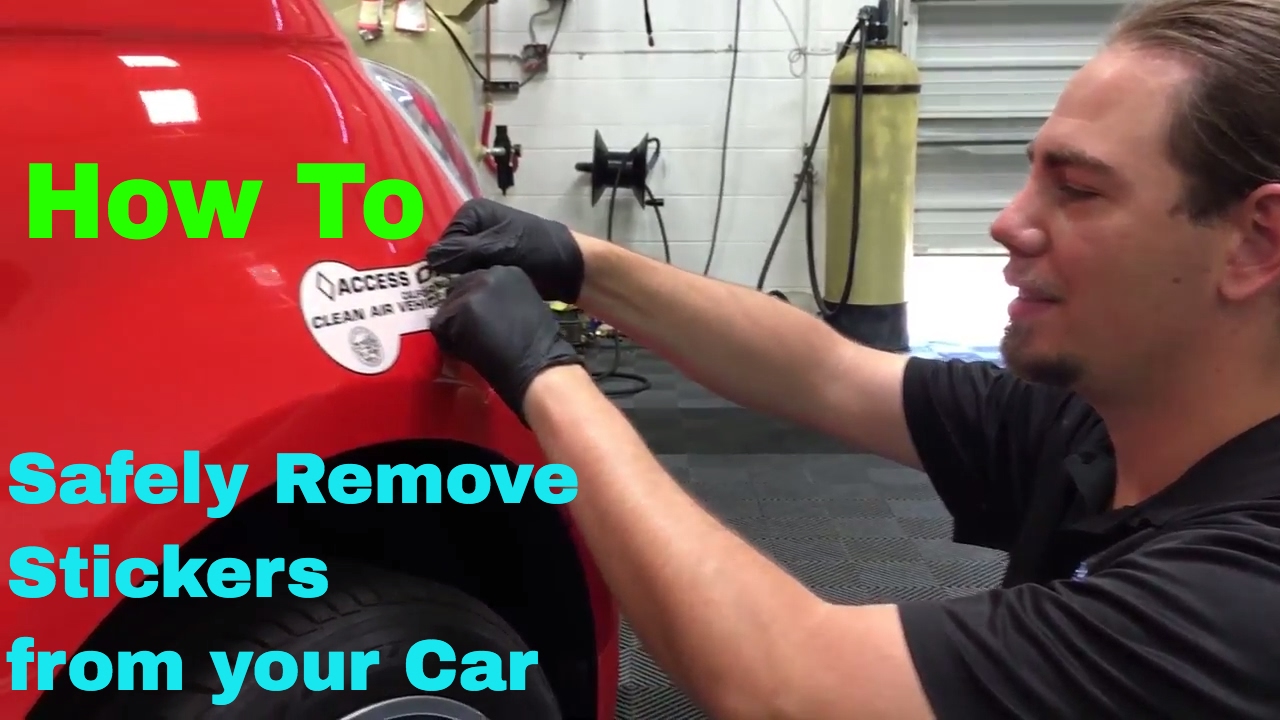
Introduction: The Sticky Situation of Car Stickers
Stickers on cars can be a fun way to personalize your vehicle, show off your interests, or support your favorite causes. However, the joy of displaying these stickers often fades when it’s time to remove them. Whether you’re selling your car, updating its look, or simply tired of a particular sticker, removing it can be a daunting task. The adhesive can be stubborn, and improper removal techniques can lead to scratches, paint damage, and a less-than-desirable appearance.
This comprehensive guide is designed to provide you with the knowledge and techniques needed to safely and effectively remove stickers from your car’s paint without causing any harm. We’ll cover various methods, tools, and precautions to ensure your car’s finish remains pristine. From simple household items to specialized products, we’ll explore the best approaches for tackling different types of stickers and adhesives.
Understanding the Enemy: Types of Stickers and Adhesives
Before diving into the removal process, it’s crucial to understand the different types of stickers and adhesives you might encounter. This knowledge will help you choose the most appropriate removal method and minimize the risk of damage.
Vinyl Stickers
Vinyl stickers are among the most common types found on cars. They are durable, weather-resistant, and often used for bumper stickers, decals, and decorative graphics. Vinyl stickers typically have a strong adhesive that can be challenging to remove, especially if they’ve been exposed to sunlight and temperature fluctuations for an extended period.
Paper Stickers
Paper stickers are less common on car exteriors due to their lower durability compared to vinyl. However, they may be used for temporary promotional purposes or on interior surfaces. Paper stickers are generally easier to remove than vinyl, but they can tear and leave behind a sticky residue.
Adhesive Types
The type of adhesive used on a sticker also plays a significant role in the removal process. Some adhesives are designed to be permanent, while others are more easily removable. Factors like heat, age, and environmental conditions can affect the adhesive’s strength and its bond to the car’s paint.
Tools and Materials You’ll Need
Having the right tools and materials on hand is essential for a successful sticker removal. Here’s a list of items you might need, depending on the method you choose:
- Heat Gun or Hair Dryer: To soften the adhesive.
- Plastic Razor Blades or Scrapers: To lift the sticker without scratching the paint.
- Microfiber Towels: For cleaning and wiping surfaces.
- Adhesive Remover: Specifically designed for automotive use.
- Warm Water and Soap: For initial cleaning and residue removal.
- Isopropyl Alcohol: To remove stubborn adhesive residue.
- Detailing Clay: For removing embedded contaminants.
- Wax or Polish: To restore the paint’s shine after removal.
- Gloves: To protect your hands from chemicals and heat.
Methods for Removing Stickers from Car Paint
Now, let’s explore various methods for removing stickers from your car’s paint, starting with the gentlest approaches and progressing to more aggressive techniques if necessary.
1. The Heat Gun/Hair Dryer Method
This method involves using heat to soften the adhesive, making it easier to peel off the sticker. It’s a relatively gentle approach that works well for many types of stickers.
- Clean the Area: Wash the area around the sticker with warm water and soap to remove any dirt or debris.
- Apply Heat: Hold the heat gun or hair dryer a few inches away from the sticker and move it back and forth in a sweeping motion. Avoid concentrating the heat in one spot for too long, as this could damage the paint.
- Peel Carefully: As the adhesive softens, use a plastic razor blade or your fingernail to gently lift a corner of the sticker. Slowly peel the sticker away from the paint, applying heat as needed to keep the adhesive pliable.
- Remove Residue: Once the sticker is removed, use an adhesive remover or isopropyl alcohol to clean any remaining residue.
- Wash and Wax: Wash the area again with soap and water, and then apply a coat of wax to protect the paint.
2. The Warm Water and Soap Method
This method is best suited for newer stickers or those with weaker adhesives. It’s a simple and gentle approach that can be effective in certain situations.
- Soak the Sticker: Saturate the sticker with warm, soapy water. You can use a spray bottle or a sponge to apply the water.
- Let it Sit: Allow the water to soak into the sticker for several minutes, softening the adhesive.
- Peel Carefully: Use a plastic razor blade or your fingernail to gently lift a corner of the sticker. Slowly peel the sticker away from the paint.
- Remove Residue: If any residue remains, use a soft cloth dampened with warm, soapy water or isopropyl alcohol to clean the area.
- Dry and Wax: Dry the area thoroughly and apply a coat of wax to protect the paint.
3. The Adhesive Remover Method
Adhesive removers are specifically designed to dissolve the adhesive on stickers, making them easier to remove. Choose an adhesive remover that is safe for automotive paint.
- Test in an Inconspicuous Area: Before applying the adhesive remover to the entire sticker, test it in a small, inconspicuous area to ensure it doesn’t damage the paint.
- Apply the Remover: Follow the manufacturer’s instructions to apply the adhesive remover to the sticker. Some removers are sprayed on, while others are applied with a cloth.
- Let it Sit: Allow the remover to sit on the sticker for the recommended amount of time, allowing it to penetrate the adhesive.
- Peel Carefully: Use a plastic razor blade or your fingernail to gently lift a corner of the sticker. Slowly peel the sticker away from the paint.
- Remove Residue: Use a clean cloth dampened with adhesive remover to clean any remaining residue.
- Wash and Wax: Wash the area with soap and water, and then apply a coat of wax to protect the paint.
4. The Isopropyl Alcohol Method
Isopropyl alcohol can be effective in removing stubborn adhesive residue. It’s a relatively mild solvent that is generally safe for automotive paint, but it’s always a good idea to test it in an inconspicuous area first.
- Test in an Inconspicuous Area: Before applying isopropyl alcohol to the sticker, test it in a small, inconspicuous area to ensure it doesn’t damage the paint.
- Apply the Alcohol: Soak a clean cloth with isopropyl alcohol and gently rub it over the sticker.
- Let it Sit: Allow the alcohol to sit on the sticker for a few minutes, softening the adhesive.
- Peel Carefully: Use a plastic razor blade or your fingernail to gently lift a corner of the sticker. Slowly peel the sticker away from the paint.
- Remove Residue: Use a clean cloth dampened with isopropyl alcohol to clean any remaining residue.
- Wash and Wax: Wash the area with soap and water, and then apply a coat of wax to protect the paint.
5. The Detailing Clay Method
Detailing clay is a non-abrasive material used to remove embedded contaminants from car paint. It can also be effective in removing stubborn adhesive residue.
- Wash the Area: Wash the area around the sticker with warm water and soap to remove any dirt or debris.
- Lubricate the Clay: Spray the area with detailing clay lubricant.
- Rub the Clay: Gently rub the detailing clay over the sticker, using light pressure. The clay will pick up the adhesive residue.
- Knead the Clay: As the clay becomes dirty, knead it to expose a clean surface.
- Wipe Clean: Wipe the area clean with a microfiber towel.
- Wash and Wax: Wash the area with soap and water, and then apply a coat of wax to protect the paint.
Preventing Damage: Dos and Don’ts
To ensure a successful and damage-free sticker removal, keep these dos and don’ts in mind:
- Do: Start with the gentlest method and gradually increase the aggressiveness if necessary.
- Do: Test any cleaning products or solvents in an inconspicuous area before applying them to the entire sticker.
- Do: Use plastic razor blades or scrapers to avoid scratching the paint.
- Do: Work in a well-ventilated area when using adhesive removers or solvents.
- Do: Wear gloves to protect your hands from chemicals and heat.
- Don’t: Use metal scrapers or abrasive materials, as they can scratch the paint.
- Don’t: Apply excessive heat to the paint, as this can cause damage.
- Don’t: Use harsh chemicals or solvents that are not specifically designed for automotive paint.
- Don’t: Rush the process. Take your time and be patient to avoid mistakes.
Dealing with Stubborn Stickers
Sometimes, despite your best efforts, a sticker may prove particularly stubborn. Here are some tips for dealing with these challenging situations:
- Multiple Applications: Try applying the heat or adhesive remover multiple times, allowing it to penetrate the adhesive more deeply.
- Longer Soak Time: Allow the warm water and soap or adhesive remover to soak into the sticker for a longer period of time.
- Combination of Methods: Try combining different methods, such as using heat to soften the adhesive followed by an adhesive remover to dissolve the residue.
- Professional Help: If you’re unable to remove the sticker yourself, consider seeking professional help from an auto detailing shop.
Post-Removal Care: Restoring Your Car’s Paint
After successfully removing the sticker, it’s essential to restore the paint’s shine and protect it from future damage. Here are some post-removal care steps:
- Wash the Area: Wash the area with warm water and soap to remove any remaining residue or cleaning products.
- Inspect for Damage: Carefully inspect the paint for any scratches or imperfections.
- Polish the Paint: Use a polishing compound and a microfiber cloth to remove any minor scratches or swirl marks.
- Wax the Paint: Apply a coat of wax to protect the paint and restore its shine.
- Consider Paint Protection Film: If you’re concerned about future sticker removal or other potential damage, consider applying a paint protection film to the area.
Conclusion: A Sticker-Free and Gleaming Ride
Removing stickers from your car’s paint can be a challenging task, but with the right tools, techniques, and precautions, you can achieve a sticker-free and damage-free result. By understanding the different types of stickers and adhesives, choosing the appropriate removal method, and following the dos and don’ts outlined in this guide, you can confidently tackle any sticker removal project. Remember to take your time, be patient, and prioritize the safety of your car’s paint. With a little effort and attention to detail, you can restore your car’s finish to its original glory and enjoy a gleaming ride.

