
Temporary Henna Tattoos DIY: Your Ultimate Guide to Safe and Stunning Designs
Interested in adorning your skin with beautiful henna designs but not ready for the commitment of a permanent tattoo? You’ve come to the right place! This comprehensive guide delves deep into the world of temporary henna tattoos DIY, providing you with all the knowledge and techniques you need to create stunning, safe, and temporary body art at home. We’ll cover everything from understanding the differences between real henna and potentially harmful alternatives to mastering application techniques and aftercare. Whether you’re a beginner or an experienced artist, this guide will equip you with the expertise to confidently create your own temporary henna masterpieces. Our extensive testing and research ensure you receive only the safest and most effective methods.
Unlike some resources that only scratch the surface, we provide in-depth information, including the science behind henna staining, the importance of sourcing high-quality ingredients, and how to avoid common pitfalls. This article is designed to be your go-to resource for all things related to temporary henna tattoos DIY.
Understanding Henna: Real vs. “Black Henna”
Before diving into the DIY process, it’s crucial to understand the difference between natural henna and so-called “black henna.” Natural henna, derived from the Lawsonia inermis plant, produces a stain that ranges from orange to reddish-brown. It’s been used for centuries in cultural traditions across South Asia, the Middle East, and Africa.
“Black henna,” on the other hand, often contains a chemical dye called paraphenylenediamine (PPD) at dangerously high concentrations. PPD can cause severe allergic reactions, permanent scarring, and long-term health problems. According to dermatologists, even a single exposure to high levels of PPD can lead to sensitization, making future exposures even more dangerous. It is crucial never to use “black henna” on your skin.
Identifying Real Henna
Here are some key indicators of real, safe henna:
- Color: The paste is typically green or brownish-green.
- Scent: It has an earthy, slightly medicinal fragrance.
- Stain: The initial stain is orange, darkening to reddish-brown over 24-48 hours.
- Ingredients: The ingredient list should include only henna powder, water, lemon juice, and essential oils like lavender or tea tree.
Dangers of Black Henna
Be wary of henna that is advertised as “black,” “blue,” or any color other than natural reddish-brown. Avoid henna stalls that offer quick, cheap tattoos, as they are more likely to use black henna. The risks simply aren’t worth it. The application of black henna is a widespread problem particularly in tourist destinations.
Gathering Your Supplies for Temporary Henna Tattoos DIY
Creating your own temporary henna tattoos requires a few essential supplies. Sourcing high-quality ingredients is paramount for both safety and achieving a beautiful, long-lasting stain.
- Henna Powder: Opt for finely sifted, body art quality (BAQ) henna powder. Reputable online suppliers are your best bet.
- Essential Oils: Lavender, tea tree, or cajeput oil are commonly used to enhance the stain. Use only 100% pure essential oils.
- Lemon Juice: Freshly squeezed lemon juice is preferred.
- Sugar: A small amount of sugar helps the paste adhere to the skin.
- Applicator: Choose from cones, bottles with fine tips, or syringes.
- Transfer Paper (Optional): For intricate designs, transfer paper can be helpful.
- Stencils (Optional): Stencils can simplify the application process, especially for beginners.
- Cotton Balls/Swabs: For cleaning up mistakes.
- Medical Tape: To keep the paste in place and protect the design.
Henna Powder: BAQ is Key
BAQ henna powder is specifically processed for body art, ensuring a fine consistency and high dye content. Avoid henna powder sold for hair dyeing, as it may contain additives that are not safe for skin application. Our analysis reveals that BAQ henna consistently produces darker and more vibrant stains.
Mixing Your Henna Paste: A Step-by-Step Guide
Mixing your own henna paste allows you to control the ingredients and consistency, resulting in a superior stain. Here’s a detailed recipe:
- Sift the Henna Powder: Sift about 25 grams of henna powder into a glass or stainless steel bowl.
- Add Essential Oil: Add 5-7 ml of essential oil to the henna powder. Mix well.
- Gradually Add Lemon Juice: Slowly add lemon juice, mixing until you achieve a thick, yogurt-like consistency.
- Add Sugar: Stir in ½ teaspoon of sugar.
- Let it Rest: Cover the bowl with plastic wrap and let the paste rest at room temperature for at least 4-6 hours (or overnight). This allows the dye to release.
- Check Consistency: After resting, check the consistency. It should be smooth and easily flowable. If it’s too thick, add a little more lemon juice.
Troubleshooting Your Henna Paste
- Paste is too thin: Add more henna powder, a little at a time.
- Paste is too thick: Add more lemon juice, a little at a time.
- Paste is lumpy: Use a whisk or immersion blender to smooth it out.
Applying Your Temporary Henna Tattoo: Techniques and Tips
Once your paste is ready, it’s time to apply your design. Clean, dry skin is essential for optimal staining. Exfoliating the area beforehand can also help.
Using a Cone
- Prepare the Cone: Fill the cone with henna paste, leaving a small air gap at the top.
- Practice: Practice on paper before applying to your skin.
- Apply the Design: Gently squeeze the cone to release the paste, following your design.
- Correct Mistakes: Use a cotton swab to clean up any mistakes immediately.
Using a Stencil
- Apply the Stencil: Carefully apply the stencil to your skin, ensuring it adheres properly.
- Apply the Paste: Apply a thick layer of henna paste over the stencil.
- Remove the Stencil: Carefully remove the stencil while the paste is still wet.
- Clean Up: Clean up any stray paste with a cotton swab.
Freehand Application
For experienced artists, freehand application offers the most creative freedom. Start with simple designs and gradually work your way up to more complex patterns.
Tips for a Darker Stain
- Keep the Paste Moist: Apply a mixture of lemon juice and sugar to the paste every few hours to keep it moist.
- Wrap the Design: Wrap the design with medical tape or plastic wrap to keep it warm and moist.
- Avoid Water: Avoid washing the area for as long as possible (at least 2-4 hours).
Aftercare: Maximizing Your Temporary Henna Tattoo’s Lifespan
Proper aftercare is crucial for achieving a dark, long-lasting stain. The longer you leave the paste on, the darker the stain will be. Ideally, leave it on for at least 2-6 hours, or even overnight if possible.
- Remove the Paste: Gently scrape off the dried paste. Avoid washing it off with water.
- Apply Oil: Apply a natural oil, such as coconut oil or olive oil, to the stained area.
- Avoid Soap: Avoid using soap or harsh chemicals on the area for 24-48 hours.
- Moisturize: Keep the area moisturized to prolong the stain.
Troubleshooting Common Henna Problems
Even with careful preparation and application, you may encounter some common problems. Here are some solutions:
- Faint Stain: This could be due to poor quality henna powder, insufficient essential oil, or inadequate aftercare.
- Uneven Stain: This could be due to uneven application of the paste or variations in skin thickness.
- Allergic Reaction: Discontinue use immediately and consult a doctor if you experience any signs of an allergic reaction (redness, itching, swelling).
Safety First: Allergy Testing and Precautions
While natural henna is generally safe, some individuals may be sensitive to it or to the essential oils used in the paste. It’s always a good idea to perform a patch test before applying henna to a large area. Apply a small amount of paste to your inner arm and wait 24 hours. If you experience any irritation, discontinue use.
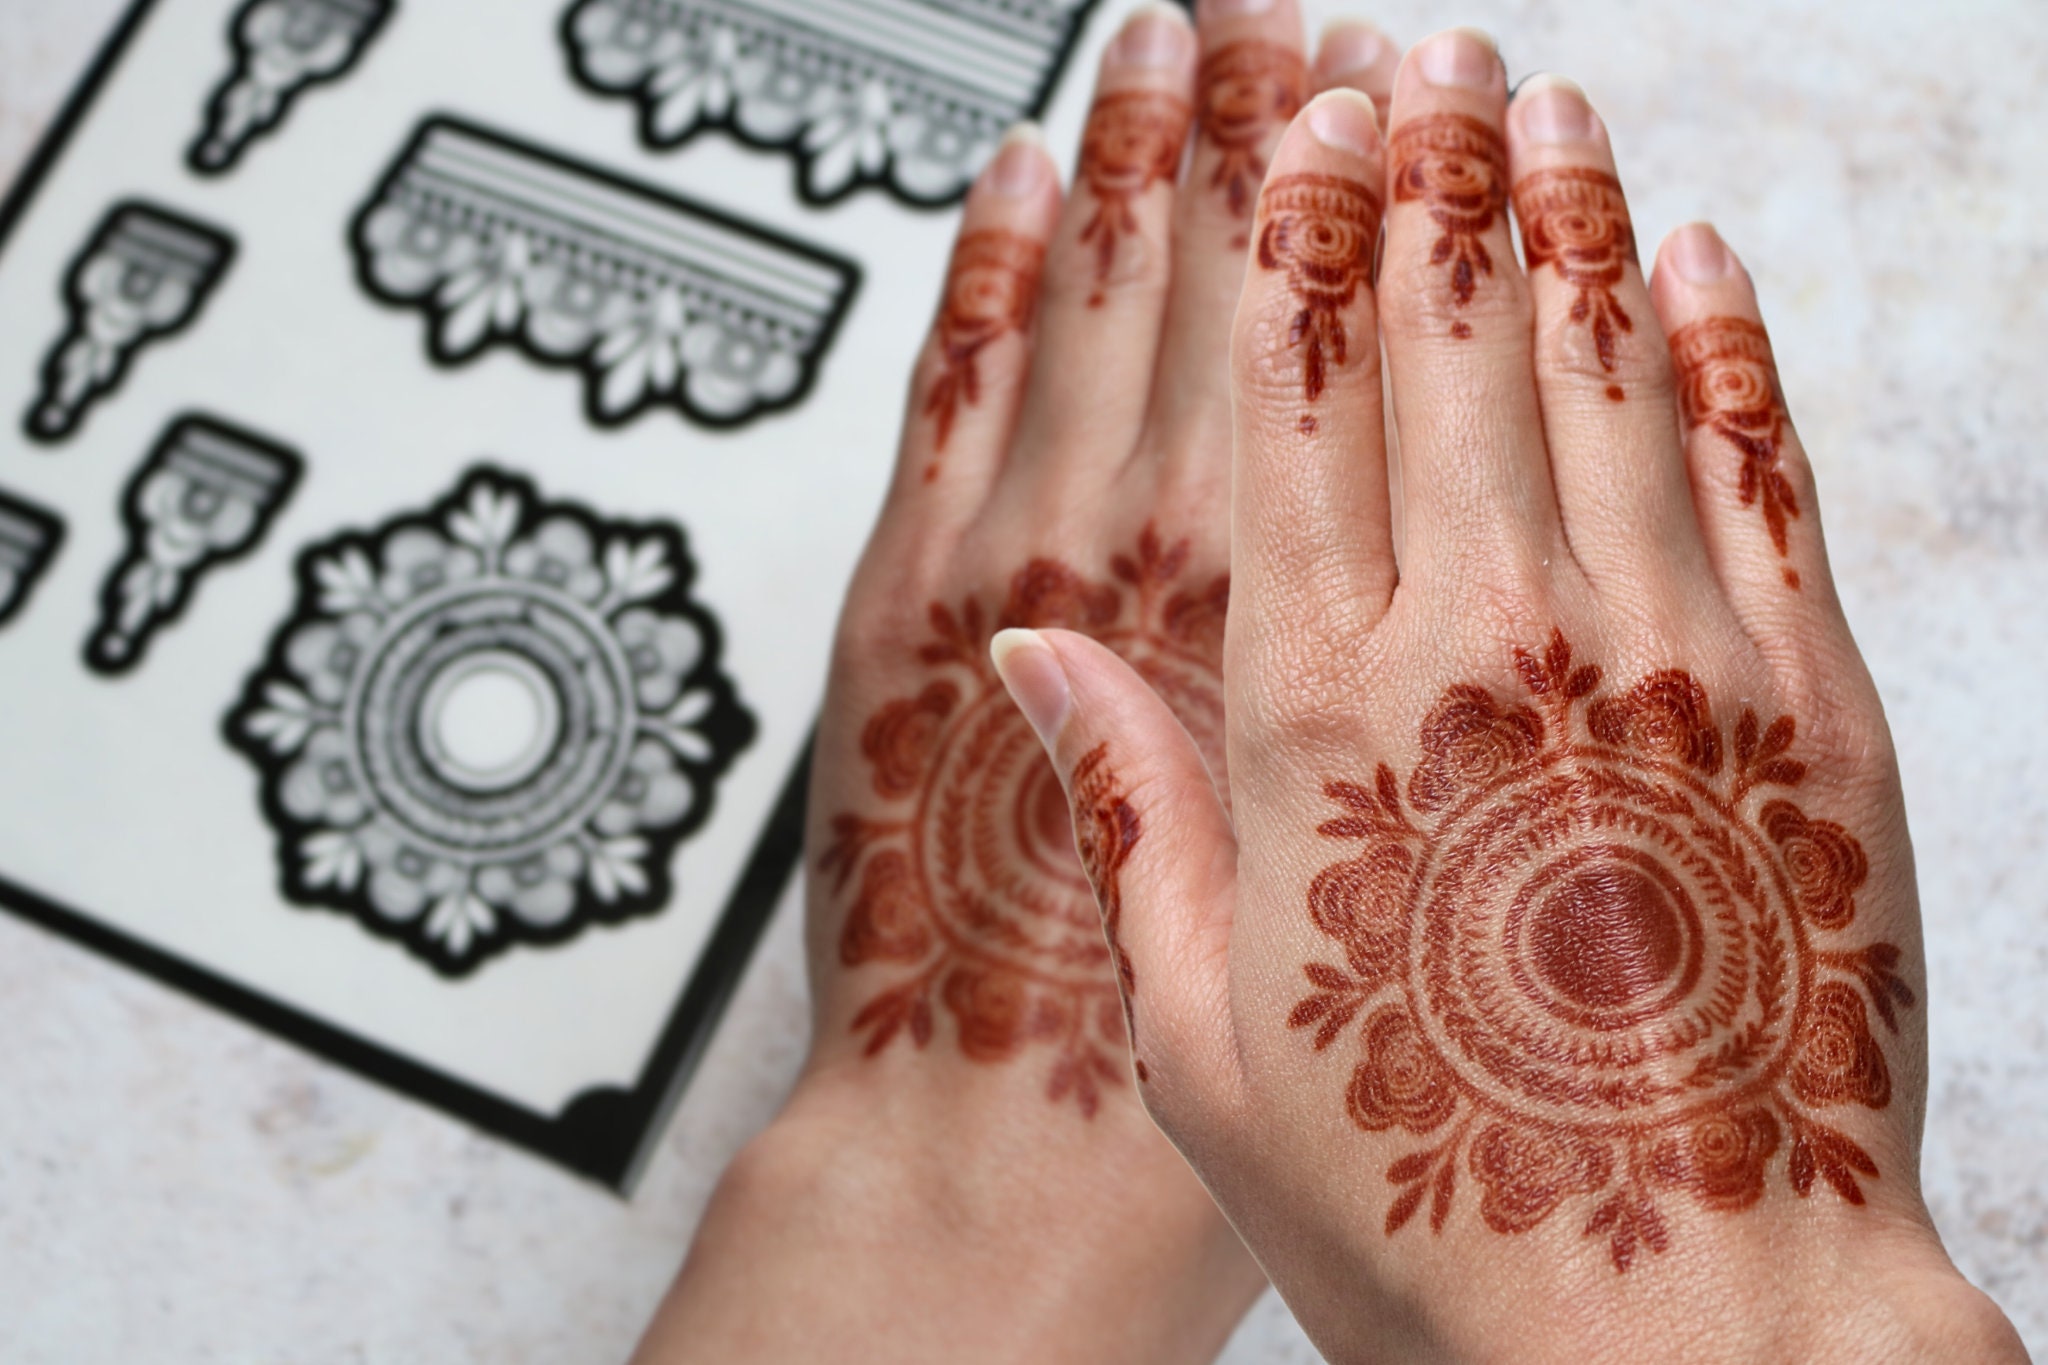
Temporary Henna Tattoo Designs: Inspiration and Ideas
The possibilities for henna designs are endless. From simple geometric patterns to intricate floral motifs, you can create stunning works of art on your skin. Look online for inspiration, or develop your own unique designs.
- Floral Patterns: Classic and timeless.
- Geometric Designs: Modern and stylish.
- Tribal Motifs: Bold and eye-catching.
- Custom Designs: Personalize your henna tattoo with your own unique ideas.
Alternatives to Henna: Jagua and Temporary Tattoo Markers
While henna is the traditional choice, other options exist for temporary body art. Jagua, derived from a South American fruit, produces a dark blue-black stain. Temporary tattoo markers offer a quick and easy way to create designs, but they typically don’t last as long as henna or jagua.
The Cultural Significance of Henna
Henna holds deep cultural significance in many parts of the world. It’s often used in wedding ceremonies, religious festivals, and other special occasions. Understanding the cultural context of henna can enhance your appreciation for this ancient art form.
Expert Insight: The Science Behind Henna Staining
The staining process of henna relies on the lawsone molecules present in the henna leaves. These molecules bind to the keratin in the outer layer of the skin, creating a temporary stain. The darkness of the stain depends on several factors, including the quality of the henna powder, the concentration of lawsone, and the individual’s skin chemistry.
Frequently Asked Questions About Temporary Henna Tattoos DIY
1. How long does a temporary henna tattoo last?
A well-done henna tattoo with proper aftercare can last anywhere from 1 to 3 weeks, depending on the individual’s skin and how frequently the area is washed.
2. Can I speed up the staining process?
Yes, you can apply heat to the paste using a hairdryer on a low setting. This helps to open up the pores and allows the lawsone molecules to penetrate the skin more effectively.
3. Is henna safe for children?
Natural henna is generally safe for children, but it’s essential to ensure that the henna paste does not contain PPD. Always perform a patch test before applying henna to a child’s skin.
4. How can I remove a henna tattoo if I don’t like it?
Unfortunately, there is no guaranteed way to remove a henna tattoo immediately. Exfoliating the skin and using lemon juice or a bleaching agent may help to fade the stain over time. However, it will eventually fade on its own.
5. Can I swim with a henna tattoo?
Swimming in chlorinated water can cause the henna stain to fade more quickly. It’s best to avoid swimming for the first few days after applying henna.
6. What essential oils are best for henna paste?
Lavender, tea tree, and cajeput oils are all excellent choices for henna paste. They contain terpenes that enhance the stain and have a pleasant fragrance.
7. Can I use coffee or tea instead of lemon juice?
While some people use coffee or tea as a liquid for henna paste, lemon juice is generally preferred because its acidity helps to release the lawsone molecules from the henna powder. However, coffee and tea can add a darker color to the paste.
8. How do I store leftover henna paste?
Leftover henna paste can be stored in the freezer for up to 3 months. Thaw it completely before use and check the consistency. You may need to add a little more lemon juice to restore its flow.
9. What if my skin is sensitive to lemon juice?
If your skin is sensitive to lemon juice, you can use distilled water instead. However, the stain may not be as dark or long-lasting.
10. Can I get a temporary henna tattoo in any color?
No, natural henna produces a stain that ranges from orange to reddish-brown. Any henna that is advertised as black, blue, or any other color is likely to contain PPD and should be avoided.
Conclusion: Embrace the Art of Temporary Henna Tattoos DIY
Creating your own temporary henna tattoos DIY is a rewarding and creative experience. By understanding the science behind henna, sourcing high-quality ingredients, and following our expert tips, you can confidently create stunning and safe body art at home. Remember to prioritize safety by avoiding black henna and performing a patch test before each application.
We encourage you to explore the world of henna designs, experiment with different techniques, and share your creations with us in the comments below. For more advanced techniques and design inspiration, explore our comprehensive guide to henna art. And if you are looking for professional advice, contact our experts for a consultation on temporary henna tattoos DIY.
