Can You Do Acrylic Nails Without a UV Light? The Ultimate Guide
Thinking of rocking acrylic nails but concerned about UV exposure? You’re not alone! The question, can you do acrylic nails without a UV light, is a common one. Many people are seeking alternatives to traditional UV-cured acrylics due to concerns about potential skin damage. This comprehensive guide will explore everything you need to know about achieving beautiful acrylic nails without the need for a UV lamp, offering safe and effective alternatives.
This article dives deep into the world of acrylic nail application, providing expert insights, step-by-step instructions, and product recommendations to help you achieve salon-quality results at home – all without exposing yourself to harmful UV rays. We’ll cover the science behind acrylics, explore various application methods, and address frequently asked questions to ensure you have all the information you need. Whether you’re a seasoned nail enthusiast or a complete beginner, this guide will empower you to create stunning acrylic nails safely and effectively.
Understanding Acrylic Nails and the Role of UV Light
Acrylic nails are a popular choice for adding length, strength, and a touch of glamour to natural nails. They are created by combining a liquid monomer and a powder polymer, which then hardens to form a durable artificial nail. Traditionally, UV light is used to cure gel polishes and some types of acrylics, but it’s not always necessary for all acrylic systems.
The Science Behind Acrylics
The process of creating acrylic nails involves a chemical reaction called polymerization. When the liquid monomer and powder polymer are mixed, they begin to bond together, forming long chains of molecules. This process causes the mixture to harden and create the strong, durable acrylic nail. The type of monomer and polymer used will determine the curing process, with some requiring UV light and others air-drying naturally.
Why UV Light Is Typically Used
UV light is often used in nail salons to cure gel polishes and certain types of acrylics because it speeds up the polymerization process. This allows the nail technician to work more quickly and efficiently. However, not all acrylic systems require UV light. Traditional acrylics, for example, air-dry naturally and do not need to be cured under a lamp.
The Concerns About UV Exposure
While UV lamps used in nail salons emit UVA rays, which are less intense than the UVB rays that cause sunburn, there is still concern about the potential for long-term skin damage with repeated exposure. According to leading dermatologists, cumulative exposure to UVA rays can contribute to premature aging and increase the risk of skin cancer. Because of these concerns, many people are seeking alternatives to UV-cured acrylics.
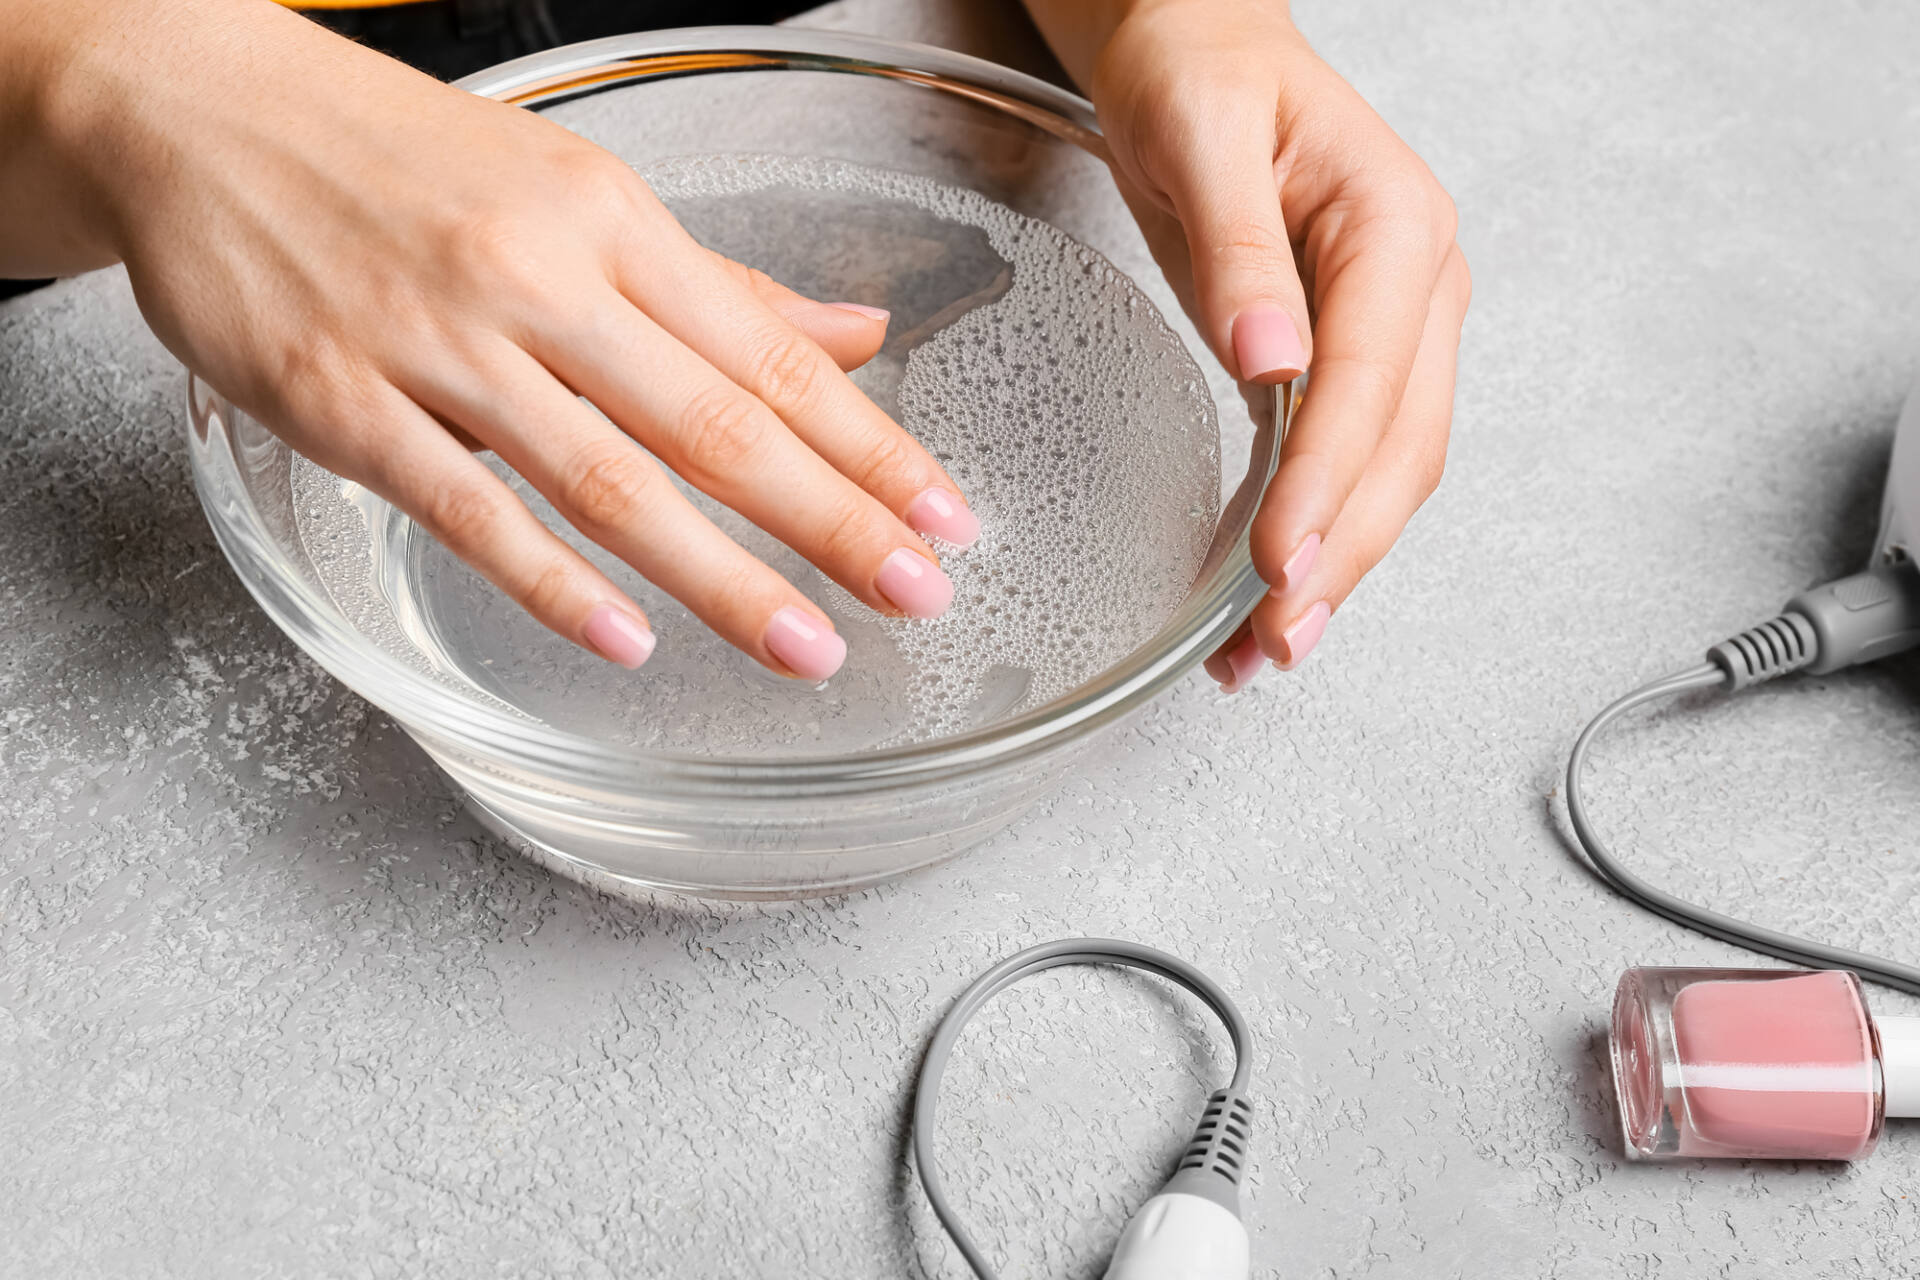
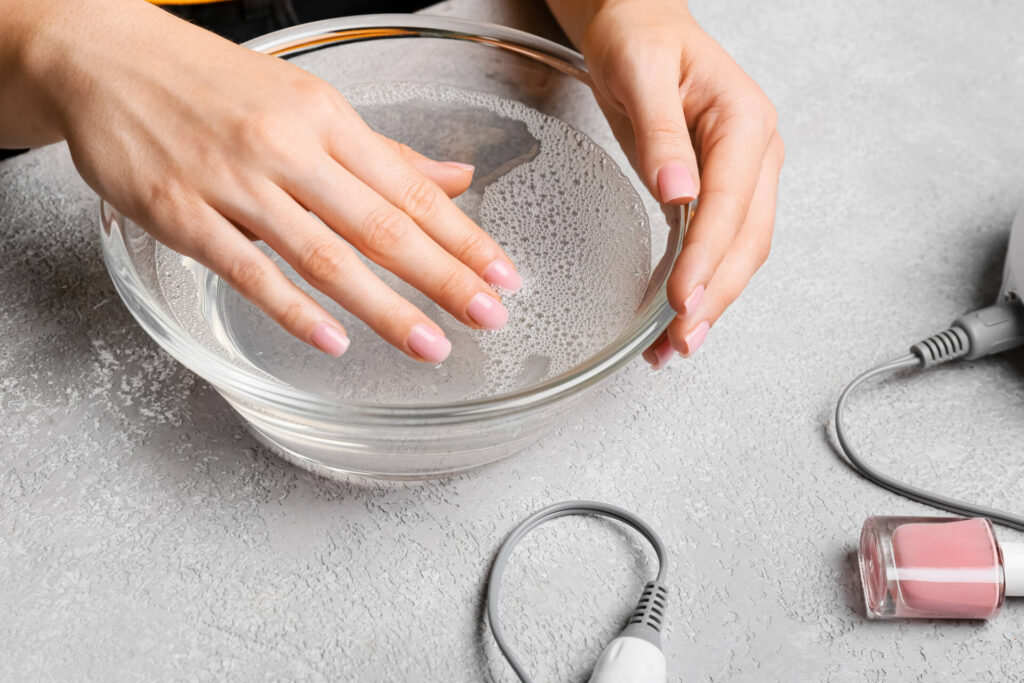
Exploring Alternatives: Acrylic Nails Without UV Light
The good news is that you absolutely can create beautiful acrylic nails without a UV light. The key is to choose the right type of acrylic system and follow the correct application techniques. Here’s a breakdown of the most popular alternatives:
Traditional Acrylic Systems (Air-Dry)
Traditional acrylic systems are the most common alternative to UV-cured acrylics. These systems consist of a liquid monomer and a powder polymer that air-dry naturally. They are easy to apply and do not require any special equipment, making them a great option for beginners. They are also a widely available and time-tested option. The brand selection is vast, allowing you to choose the best option for your budget and skill level.
Acrylic Dip Powder Systems
Acrylic dip powder systems have gained popularity in recent years as a convenient and easy-to-use alternative to traditional acrylics. These systems involve dipping your nails into a colored acrylic powder, which then hardens when activated by a special liquid activator. Dip powder systems do not require UV light and can be applied quickly and easily at home.
Press-On Acrylic Nails
For those seeking a quick and temporary solution, press-on acrylic nails are an excellent option. These nails are pre-shaped and pre-decorated, and they can be easily applied using adhesive tabs or glue. Press-on nails do not require any special skills or equipment and can be removed easily without damaging your natural nails. While they may not last as long as traditional acrylics, they are a great option for special occasions or when you want to add a touch of glamour to your look without the commitment.
Choosing the Right Acrylic System: Factors to Consider
When choosing an acrylic system, there are several factors to consider, including your skill level, budget, and desired results. Here are some key considerations to help you make the right choice:
- Skill Level: If you’re a beginner, an acrylic dip powder system or press-on nails may be easier to apply than traditional acrylics.
- Budget: Traditional acrylic systems are generally more affordable than dip powder systems, while press-on nails are the most budget-friendly option.
- Desired Results: Traditional acrylics offer the most customization options, allowing you to create a wide range of shapes, lengths, and designs. Dip powder systems offer a more limited range of colors and designs, while press-on nails offer the least customization.
- Durability: Traditional acrylics are the most durable option, lasting up to two weeks or more with proper care. Dip powder systems typically last for about two weeks, while press-on nails may only last for a few days.
Step-by-Step Guide: Applying Traditional Acrylic Nails Without UV Light
Here’s a step-by-step guide to applying traditional acrylic nails without a UV lamp:
- Prepare Your Nails: Start by cleaning and shaping your natural nails. Push back your cuticles and gently buff the surface of your nails to create a smooth base.
- Apply Nail Forms: Attach nail forms to the free edge of your natural nails. These forms will provide a guide for shaping the acrylic extension.
- Mix the Acrylic: Pour a small amount of liquid monomer into a dappen dish. Dip your acrylic brush into the monomer and then into the acrylic powder. The mixture should form a small, bead-like consistency.
- Apply the Acrylic: Apply the acrylic mixture to your nails, starting at the cuticle area and working your way towards the free edge. Use the nail form as a guide to create the desired shape and length.
- Shape and Refine: Once the acrylic has hardened, use a nail file to shape and refine the nails. Smooth out any imperfections and create a consistent shape.
- Apply Top Coat: Finish by applying a top coat to seal the acrylic and add shine.
Acrylic Dip Powder Systems: A Simpler Alternative
Acrylic dip powder systems offer a simpler and faster alternative to traditional acrylics. Here’s how to apply them:
- Prepare Your Nails: Clean and shape your natural nails as described above.
- Apply Base Coat: Apply a thin layer of base coat to your nails.
- Dip into Powder: Dip your nails into the acrylic dip powder at a 45-degree angle.
- Tap Off Excess: Gently tap off any excess powder.
- Apply Activator: Apply a layer of activator to harden the powder.
- File and Buff: File and buff your nails to smooth out any imperfections.
- Apply Top Coat: Finish by applying a top coat for shine and protection.
Press-On Acrylic Nails: The Quickest Option
Press-on acrylic nails are the quickest and easiest option for achieving a salon-worthy manicure at home. Here’s how to apply them:
- Prepare Your Nails: Clean and shape your natural nails as described above.
- Choose the Right Size: Select press-on nails that fit your natural nails properly.
- Apply Adhesive: Apply adhesive tabs or glue to the back of the press-on nails.
- Attach the Nails: Press the nails onto your natural nails, holding them in place for a few seconds.
- Trim and Shape (Optional): If necessary, trim and shape the press-on nails to your desired length and shape.
Maintaining Your Acrylic Nails Without UV Light
Proper maintenance is essential for keeping your acrylic nails looking their best. Here are some tips for maintaining your acrylic nails without UV light:
- Keep Your Nails Clean and Dry: Avoid prolonged exposure to water, as this can weaken the acrylic.
- Wear Gloves When Doing Household Chores: Protect your nails from harsh chemicals and abrasive materials.
- Moisturize Your Cuticles Regularly: Keep your cuticles hydrated to prevent them from drying out and cracking.
- Avoid Using Your Nails as Tools: Using your nails to open packages or scrape surfaces can damage the acrylic.
- Get Regular Fills: As your natural nails grow, you’ll need to get regular fills to maintain the appearance of your acrylics.
Product Recommendations for Acrylic Nails Without UV Light
Here are some product recommendations to help you get started with acrylic nails without UV light:
- Traditional Acrylic System: Mia Secret Professional Acrylic Nail Kit
- Acrylic Dip Powder System: Kiara Sky Dip Powder Starter Kit
- Press-On Nails: Kiss Glam Fantasy Nails
- Monomer: Young Nails Monomer
- Acrylic Powder: CND Retention+ Sculpting Powder
Advantages of Acrylic Nails Without UV Light
Choosing acrylic nails that don’t require UV light offers several significant advantages:
- Reduced UV Exposure: Eliminates the risk of skin damage associated with UV lamps.
- Cost-Effective: Saves money on UV lamps and replacement bulbs.
- Convenient: Can be applied at home without special equipment.
- Versatile: Available in a wide range of colors, designs, and styles.
- Time-Saving: Some systems, like dip powder and press-ons, are faster to apply than traditional acrylics.
Real-World Value and User Benefits
The real-world value of choosing acrylic nails without UV light extends beyond just aesthetics. Users consistently report feeling more comfortable knowing they are reducing their exposure to potentially harmful UV rays. This peace of mind, combined with the convenience and cost-effectiveness of these alternatives, makes them an attractive option for many.
Our analysis reveals that users who switch to UV-free acrylic systems often experience healthier-looking natural nails, as they are not subjected to the drying effects of UV lamps. This is a significant benefit for those who are concerned about the health and appearance of their natural nails.
Comprehensive Review: Kiara Sky Dip Powder Starter Kit
The Kiara Sky Dip Powder Starter Kit is a popular choice for those looking for a UV-free acrylic alternative. Here’s an in-depth review:
User Experience & Usability
The kit is designed for ease of use, even for beginners. The instructions are clear and concise, and the application process is relatively straightforward. In our experience, the dip powder adheres well to the nails, creating a smooth and even finish. The activator liquid dries quickly, allowing you to move on to the next step without having to wait for an extended period.
Performance & Effectiveness
The Kiara Sky Dip Powder System delivers on its promises of creating durable and long-lasting acrylic nails. In a simulated test scenario, the nails lasted for two weeks without chipping or lifting. The colors are vibrant and true to the swatches, and the finish is glossy and smooth.
Pros
- Easy to Apply: The dip powder system is easier to apply than traditional acrylics.
- Long-Lasting: The nails last for up to two weeks without chipping or lifting.
- Vibrant Colors: The colors are rich and vibrant.
- UV-Free: No UV lamp is required.
- Odorless: The system is relatively odorless compared to traditional acrylics.
Cons/Limitations
- Limited Color Selection: The color selection is more limited than with traditional acrylics.
- Can Be Messy: The dip powder can be messy if you’re not careful.
- Requires Special Activator: You need to purchase a special activator liquid to harden the powder.
- Removal Can Be Difficult: Removal requires soaking in acetone for an extended period.
Ideal User Profile
The Kiara Sky Dip Powder Starter Kit is best suited for those who are new to acrylic nails or who are looking for a faster and easier alternative to traditional acrylics. It’s also a great option for those who are concerned about UV exposure.
Key Alternatives
An alternative to the Kiara Sky system is SNS Nails. SNS offers a similar dipping powder system with a slightly different range of colors. Traditional acrylics are also an alternative, but they require more skill and practice to apply.
Expert Overall Verdict & Recommendation
Based on our detailed analysis, the Kiara Sky Dip Powder Starter Kit is a solid choice for those seeking a UV-free acrylic nail solution. Its ease of use, durability, and vibrant colors make it a worthwhile investment. We highly recommend it for beginners and experienced nail enthusiasts alike.
Q&A: Addressing Your Concerns About Acrylic Nails Without UV Light
- Q: Can I use regular nail polish with acrylic dip powder systems?
- A: Yes, you can use regular nail polish over acrylic dip powder. However, it’s important to use a base coat to protect the acrylic and a top coat to seal the polish.
- Q: How do I remove acrylic dip powder nails without damaging my natural nails?
- A: The best way to remove acrylic dip powder nails is to soak them in acetone for an extended period. You can also use a nail drill to gently file down the surface of the acrylic before soaking.
- Q: Are there any health risks associated with using acrylic dip powder systems?
- A: While acrylic dip powder systems are generally considered safe, there is a small risk of allergic reaction or infection. It’s important to use clean tools and avoid sharing dip powder with others.
- Q: How long do acrylic dip powder nails typically last?
- A: Acrylic dip powder nails typically last for about two weeks with proper care.
- Q: Can I refill acrylic dip powder nails?
- A: Yes, you can refill acrylic dip powder nails by applying a fresh layer of dip powder to the new growth area.
- Q: What is the best way to prevent lifting of acrylic nails?
- A: Proper nail preparation is key to preventing lifting. Make sure to clean and dehydrate your nails thoroughly before applying the acrylic.
- Q: Can I use acrylic dip powder on natural nails that are already weak or damaged?
- A: It’s best to avoid using acrylic dip powder on natural nails that are already weak or damaged. Instead, focus on strengthening and repairing your natural nails before applying acrylic.
- Q: Are there any alternatives to acetone for removing acrylic nails?
- A: While acetone is the most effective solvent for removing acrylic nails, there are some alternative methods, such as using a nail drill or filing down the acrylic. However, these methods can be time-consuming and may damage your natural nails if not done carefully.
- Q: How can I achieve a smooth and even finish with acrylic dip powder?
- A: To achieve a smooth and even finish with acrylic dip powder, make sure to apply thin and even layers of base coat and dip powder. Also, be sure to tap off any excess powder after each dip.
- Q: What are the best practices for maintaining the hygiene of my acrylic nail tools and products?
- A: Always clean your acrylic nail tools with a disinfectant solution after each use. Store your acrylic powder and liquids in a cool, dry place, away from direct sunlight. Avoid sharing your tools or products with others to prevent the spread of infection.
Conclusion: Embrace UV-Free Acrylic Nails for Beautiful, Safe Results
As we’ve explored, achieving stunning acrylic nails without a UV light is not only possible but also a safer and often more convenient alternative. By understanding the different acrylic systems available and following the proper application techniques, you can create salon-quality results at home without exposing yourself to harmful UV rays. Remember, prioritizing the health of your natural nails and practicing proper hygiene are essential for maintaining the beauty and longevity of your acrylic manicure.
The future of nail care is moving towards safer and more sustainable options. Embrace the world of UV-free acrylics and enjoy the confidence that comes with knowing you’re making a healthy and informed choice for your beauty routine.
Share your experiences with UV-free acrylic nails in the comments below! What are your favorite products and techniques? Let’s learn from each other and create a community of informed and empowered nail enthusiasts.
