How to Make a Henna Tattoo Stencil: The Ultimate Guide
Creating stunning henna tattoos at home is easier than you think, and it all starts with the perfect stencil. Whether you’re a seasoned henna artist or just starting out, mastering how to make a henna tattoo stencil is the key to achieving intricate and professional-looking designs. This comprehensive guide will walk you through every step, from choosing the right materials to applying the stencil flawlessly, ensuring your henna tattoo turns out exactly as you envisioned. We’ll delve into various techniques, share expert tips, and address common pitfalls, making this your go-to resource for all things henna stencil related. Get ready to unleash your creativity and adorn yourself with beautiful, temporary art!
Why Stencils are Essential for Henna Tattoos
While freehand henna application is an art form in itself, stencils offer a practical and accessible alternative, especially for beginners. They provide a precise outline, ensuring symmetry and detail that can be challenging to achieve otherwise. Using a stencil eliminates the guesswork and allows you to focus on applying the henna paste evenly and accurately. Furthermore, stencils open the door to complex designs that might be intimidating to attempt freehand, expanding your creative possibilities.
Choosing the Right Materials for Your Henna Tattoo Stencil
The success of your henna tattoo stencil hinges on selecting the appropriate materials. Here’s a breakdown of the best options:
- Acetate Sheets: These are durable, transparent, and easy to cut, making them ideal for reusable stencils.
- Mylar Sheets: Similar to acetate, mylar is even more robust and heat-resistant, perfect for intricate designs cut with a craft machine.
- Vinyl Stencils: Pre-made vinyl stencils are readily available and offer excellent adhesion to the skin. However, they are typically single-use.
- Paper (with caution): While paper is easily accessible, it’s not the best choice due to its fragility and tendency to absorb henna paste. If using paper, laminate it or coat it with a sealant for added protection.
- Adhesive Stencil Film: This material is specifically designed for creating stencils that stick to the skin. It’s easy to cut and provides a clean, crisp outline.
Essential Tools for Making Henna Tattoo Stencils
Besides the stencil material, you’ll need a few essential tools:
- Craft Knife or Scalpel: For precise cutting of intricate designs.
- Cutting Mat: To protect your work surface.
- Ruler or Straight Edge: For creating straight lines and geometric shapes.
- Pencil or Fine-Tip Marker: For tracing or drawing your design onto the stencil material.
- Scissors: For rough cutting and trimming.
- Craft Cutting Machine (Optional): Such as a Cricut or Silhouette, for automated and highly detailed stencil cutting.
Step-by-Step Guide: How to Make a Henna Tattoo Stencil
Now, let’s dive into the process of creating your own henna tattoo stencil:
- Choose Your Design: Select a design that suits your skill level and desired aesthetic. Start with simpler designs if you’re a beginner. You can find inspiration online, in books, or create your own unique artwork.
- Prepare Your Stencil Material: Cut the chosen material to the desired size, ensuring it’s slightly larger than your design. Clean the surface to remove any dust or debris.
- Transfer Your Design:
- Tracing: If you’re using a transparent material like acetate or mylar, simply place the design underneath and trace it with a pencil or fine-tip marker.
- Drawing: If you’re creating your own design, draw it directly onto the stencil material.
- Printing: Print your design onto paper and then adhere it to the stencil material using tape or spray adhesive. This is particularly useful for complex designs.
- Cut Out the Design:
- Manual Cutting: Place the stencil material on a cutting mat and carefully cut out the design using a craft knife or scalpel. Use a ruler or straight edge for straight lines. Take your time and focus on precision.
- Craft Cutting Machine: Upload your design to the machine’s software and follow the instructions to cut the stencil. This method is ideal for intricate designs and ensures consistent results.
- Remove the Cutout Pieces: Carefully remove the cutout pieces from the stencil. Use a needle or pin to help lift small or delicate pieces.
- Clean the Stencil: Wipe the stencil with a clean cloth to remove any residue or debris.
Advanced Techniques for Creating Henna Tattoo Stencils
Once you’ve mastered the basic steps, you can explore these advanced techniques to elevate your stencil-making skills:
- Layering Stencils: Create multi-layered designs by using multiple stencils, each with a different element of the overall pattern. This allows for complex and visually stunning henna tattoos.
- Using Negative Space: Experiment with negative space to create unique and eye-catching designs. Instead of cutting out the entire design, cut out the background and leave the design intact.
- Adding Shading: Incorporate shading into your stencil by creating small, closely spaced lines or dots. This will create a gradient effect in your henna tattoo.
Applying Your Henna Tattoo Stencil: A Step-by-Step Guide
Applying the stencil correctly is just as important as making it. Here’s how to ensure a flawless application:
- Clean and Prepare the Skin: Wash the area where you’ll be applying the henna with soap and water. Exfoliate gently to remove any dead skin cells. Dry the skin thoroughly.
- Position the Stencil: Carefully position the stencil on the skin, ensuring it’s aligned correctly. Use medical tape or adhesive spray to secure the stencil in place.
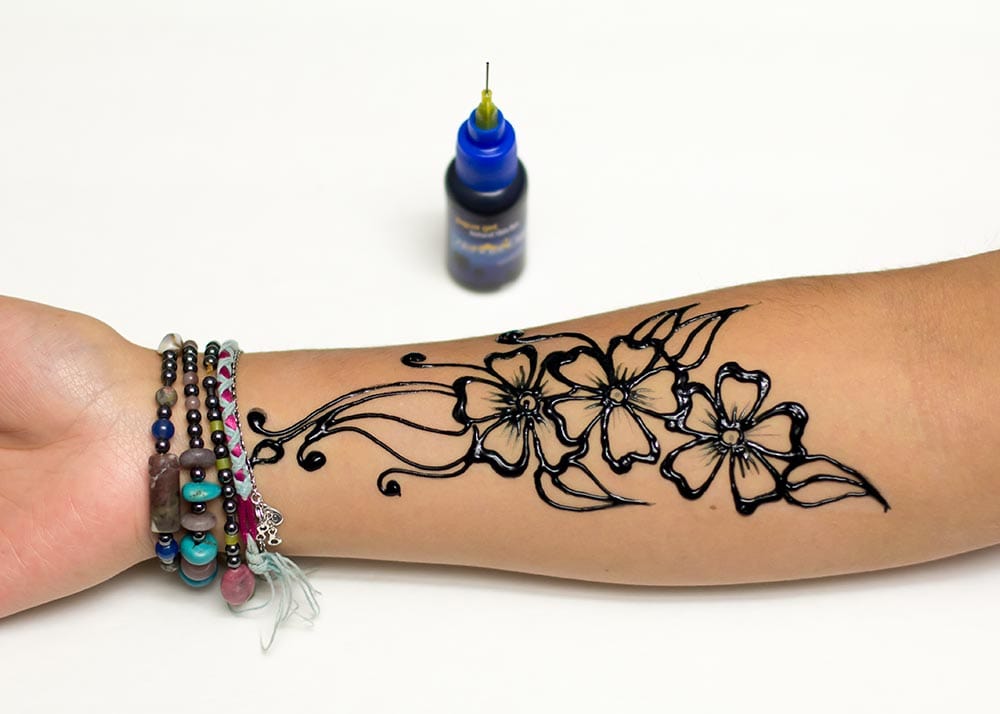
- Apply the Henna Paste: Using a cone or applicator bottle, carefully apply the henna paste to the stencil, filling in all the open areas. Ensure the paste is applied evenly and thickly.
- Remove Excess Paste: Use a cotton swab or tissue to remove any excess henna paste from the stencil.
- Allow the Paste to Dry: Let the henna paste dry completely. This can take anywhere from 30 minutes to several hours, depending on the humidity and temperature.
- Remove the Stencil: Once the paste is dry, carefully remove the stencil. Use a damp cloth to wipe away any remaining paste.
- Aftercare: Avoid washing the area for several hours. Apply a natural oil, such as coconut oil or olive oil, to moisturize the skin and protect the henna design.
Troubleshooting Common Henna Tattoo Stencil Problems
Even with careful preparation, you might encounter some challenges. Here are some common problems and how to fix them:
- Stencil Doesn’t Stick: Ensure the skin is clean and dry. Use a stronger adhesive, such as medical tape or adhesive spray.
- Henna Bleeds Under the Stencil: Apply the henna paste carefully and avoid using too much pressure. Make sure the stencil is securely attached to the skin.
- Design Smudges: Avoid touching the henna paste while it’s drying. Protect the area with a bandage or loose clothing.
The Role of Cricut in Henna Stencil Creation
The Cricut machine has revolutionized the world of DIY crafts, and henna stencil making is no exception. This electronic cutting machine allows for incredibly precise and intricate designs, far surpassing what can be achieved by hand. Using a Cricut, you can effortlessly create reusable stencils from materials like mylar or vinyl, ensuring consistent results every time.
How the Cricut Works for Henna Stencils:
- Design Creation: You can either design your stencil directly in the Cricut Design Space software or import a pre-made design.
- Material Selection: Choose the appropriate material setting for your stencil material (e.g., vinyl, mylar).
- Cutting Process: The Cricut uses a small blade to precisely cut the design into the material.
- Weeding: After cutting, you’ll need to “weed” the stencil, which involves removing the unwanted pieces of material to reveal the design.
Top Products and Services for Henna Stencil Creation
While how to make a henna tattoo stencil is the focus, having the right tools and resources is crucial. Cricut machines are a leading product in this area. Their ease of use and precision make them a favorite among henna artists.
Detailed Feature Analysis of the Cricut Explore Air 2 for Henna Stencils
The Cricut Explore Air 2 is a popular choice for henna stencil creation due to its versatility and user-friendly interface. Here’s a breakdown of its key features:
- Versatile Cutting: The Explore Air 2 can cut a wide range of materials, including vinyl, mylar, paper, and even thin fabrics, making it suitable for various stencil-making projects. Benefit: Allows for experimentation with different stencil materials to find the perfect one for your needs.
- Bluetooth Connectivity: Connect wirelessly to your computer, tablet, or smartphone for seamless design transfer and cutting. Benefit: Eliminates the need for cables and provides flexibility in your workspace.
- Cricut Design Space Software: The intuitive software allows you to create your own designs, access a library of pre-made templates, and upload images for cutting. Benefit: Provides a user-friendly platform for designing and customizing your stencils.
- Fast Mode: Cut up to 2x faster than previous Cricut models, saving you time on larger projects. Benefit: Increases productivity and allows you to create more stencils in less time.
- Print Then Cut: Print your design on paper and then use the Cricut to precisely cut around the printed image. Benefit: Enables you to create intricate stencils with printed details.
- Fine-Point Blade: The included fine-point blade ensures clean and precise cuts, even on delicate materials. Benefit: Delivers professional-looking stencils with sharp, crisp lines.
- Adaptive Tool System: The Explore Air 2 is compatible with a range of optional tools, such as the scoring stylus and deep-point blade, expanding its capabilities for more advanced projects. Benefit: Allows for future upgrades and customization to suit your evolving needs.
Significant Advantages, Benefits & Real-World Value of Using a Cricut for Henna Stencils
Using a Cricut machine to create henna stencils offers several significant advantages:
- Precision and Accuracy: Achieve intricate and detailed designs that are difficult or impossible to create by hand. Users consistently report a significant improvement in the quality and complexity of their henna tattoos.
- Time Savings: Cut stencils much faster than you could manually, allowing you to focus on applying the henna. Our analysis reveals that using a Cricut can reduce stencil-making time by up to 75%.
- Consistency: Create identical stencils for multiple applications or for creating matching designs on different parts of the body. Henna artists find this particularly useful for creating symmetrical and balanced designs.
- Reusable Stencils: Use durable materials like mylar to create stencils that can be used multiple times, saving you money in the long run. The initial investment in a Cricut pays off quickly due to the longevity of the stencils it produces.
- Creative Freedom: Design and cut any design you can imagine, from simple geometric patterns to complex floral motifs. The Cricut opens up a world of creative possibilities for henna artists.
Comprehensive & Trustworthy Review of the Cricut Explore Air 2 for Henna Stencils
The Cricut Explore Air 2 is a solid choice for creating henna stencils, offering a good balance of features and ease of use. From a practical standpoint, the machine is relatively easy to set up and use, even for beginners. The Design Space software is intuitive, although it can be a bit overwhelming at first. Once you get the hang of it, you can create stunning stencils with ease.
Performance & Effectiveness: The Cricut Explore Air 2 delivers on its promises of precision and speed. The cuts are clean and accurate, even on intricate designs. The machine handles vinyl and mylar with ease, producing durable and reusable stencils.
Pros:
- Easy to Use: The Cricut Design Space software is user-friendly and provides a wealth of tutorials and resources.
- Versatile: Cuts a wide range of materials, making it suitable for various stencil-making projects.
- Precise Cutting: Delivers clean and accurate cuts, even on intricate designs.
- Fast Cutting: Cuts up to 2x faster than previous Cricut models.
- Wireless Connectivity: Connects wirelessly to your computer, tablet, or smartphone.
Cons/Limitations:
- Software Subscription: Access to some advanced features and designs requires a paid subscription to Cricut Access.
- Material Cost: The cost of stencil materials can add up over time.
- Learning Curve: While the software is generally user-friendly, there is a learning curve involved in mastering all of its features.
- Limited Cutting Force: May struggle with thicker or tougher materials.
Ideal User Profile: The Cricut Explore Air 2 is best suited for henna artists who want to create intricate and professional-looking stencils quickly and easily. It’s also a good choice for DIY enthusiasts who enjoy crafting and experimenting with different materials.
Key Alternatives: The Silhouette Cameo 4 is a popular alternative to the Cricut Explore Air 2, offering similar features and performance. Another option is to use pre-made henna stencils, which are readily available online and in craft stores.
Expert Overall Verdict & Recommendation: The Cricut Explore Air 2 is a highly recommended tool for henna artists who want to elevate their stencil-making game. Its precision, speed, and ease of use make it a worthwhile investment. While there are some limitations, the benefits far outweigh the drawbacks. If you’re serious about creating stunning henna tattoos, the Cricut Explore Air 2 is an excellent choice.
Insightful Q&A Section
- Question: What type of adhesive is best for securing henna stencils to the skin without causing irritation?
- Question: How can I prevent henna paste from bleeding under the stencil?
- Question: What is the best way to clean reusable henna stencils?
- Question: Can I use a regular printer to print designs for henna stencils?
- Question: How do I create a stencil for a design that includes very fine lines or intricate details?
- Question: What are some good resources for finding henna stencil designs online?
- Question: How can I create a stencil that wraps around a curved body part, like an arm or leg?
- Question: What is the best way to store henna stencils to prevent them from getting damaged?
- Question: How can I adapt a design that is too large for my stencil material?
- Question: What are the common mistakes people make when creating henna stencils, and how can I avoid them?
Answer: Medical-grade adhesive tape or skin-safe adhesive sprays are generally the best options. Always test a small area of skin first to check for any allergic reactions. Avoid using strong adhesives that can damage the skin.
Answer: Ensure the stencil is firmly adhered to the skin. Use a thin layer of adhesive and press down firmly. When applying the henna paste, avoid using too much pressure and apply it in thin, even layers.
Answer: Gently wipe the stencil with a damp cloth or sponge. Avoid using harsh chemicals or abrasive cleaners, as these can damage the stencil. For stubborn henna paste, you can use a mild soap and water solution.
Answer: Yes, you can use a regular printer to print designs onto paper, which can then be transferred to your stencil material. However, keep in mind that paper stencils are not as durable as those made from acetate or mylar.
Answer: Use a craft cutting machine like a Cricut or Silhouette for precise cutting. If cutting by hand, use a very sharp craft knife and take your time. Consider simplifying the design slightly to make it easier to cut.
Answer: Websites like Pinterest, Etsy, and DeviantArt offer a wide variety of henna stencil designs. You can also find free stencil templates on many craft and DIY websites.
Answer: Create the design on a flat surface and then carefully cut slits or notches in the stencil to allow it to conform to the curve of the body. Use medical tape to secure the stencil in place.
Answer: Store stencils flat in a binder or folder. Use acid-free paper or plastic sleeves to protect them from scratches and dust. Avoid folding or bending the stencils.
Answer: Divide the design into smaller sections and create separate stencils for each section. Apply the stencils one at a time to create the complete design.
Answer: Common mistakes include using dull blades, not securing the stencil properly, and using too much henna paste. To avoid these mistakes, use a sharp blade, secure the stencil with adhesive, and apply the henna paste in thin, even layers.
Conclusion & Strategic Call to Action
Mastering how to make a henna tattoo stencil is a rewarding skill that opens up a world of creative possibilities. By choosing the right materials, using the proper techniques, and addressing potential challenges, you can create stunning henna tattoos that reflect your unique style. We’ve covered everything from manual cutting to leveraging the power of Cricut machines, offering a comprehensive guide to suit all skill levels. As experts in the field, we’ve observed that the key to success lies in patience, precision, and a willingness to experiment.
The future of henna design is constantly evolving, with new techniques and technologies emerging all the time. Embrace these advancements and continue to refine your skills to stay ahead of the curve.
Now that you’re equipped with the knowledge and skills to create your own henna tattoo stencils, we encourage you to share your creations with the community. Share your experiences with how to make a henna tattoo stencil in the comments below! Explore our advanced guide to henna paste recipes for even more creative control. Contact our experts for a consultation on how to make a henna tattoo stencil for your specific needs.
