
Engraving Acrylic with a Dremel: A Comprehensive Expert Guide
Are you looking to personalize acrylic with intricate designs using your Dremel tool? Engraving acrylic with a Dremel opens up a world of creative possibilities, from custom signage and personalized gifts to unique art pieces. However, mastering this technique requires understanding the right tools, techniques, and precautions. This comprehensive guide provides an in-depth look at engraving acrylic with a Dremel, offering expert advice and practical tips to help you achieve professional-quality results. We’ll cover everything from selecting the best Dremel bits and setting the optimal speed to avoiding common pitfalls like cracking and melting. Our goal is to equip you with the knowledge and skills to confidently create stunning acrylic engravings.
Understanding Acrylic Engraving with a Dremel
Engraving acrylic with a Dremel involves using a rotary tool to carve designs into acrylic sheets or objects. Unlike other materials, acrylic is relatively soft and prone to melting or cracking if not handled correctly. Therefore, precision and control are paramount. The choice of Dremel bit, speed setting, and engraving technique all play crucial roles in achieving a clean, professional-looking engraving.
Acrylic, also known as polymethyl methacrylate (PMMA), is a versatile thermoplastic known for its clarity, durability, and ease of fabrication. It’s widely used in various applications, including signage, displays, lenses, and art projects. Its smooth surface and ability to transmit light make it an ideal material for engraving and customization.
The process of engraving acrylic with a Dremel relies on the controlled removal of material using a rotating bit. The bit’s shape and material determine the type of cut and the level of detail that can be achieved. With practice and the right techniques, you can create intricate designs, lettering, and patterns on acrylic surfaces.
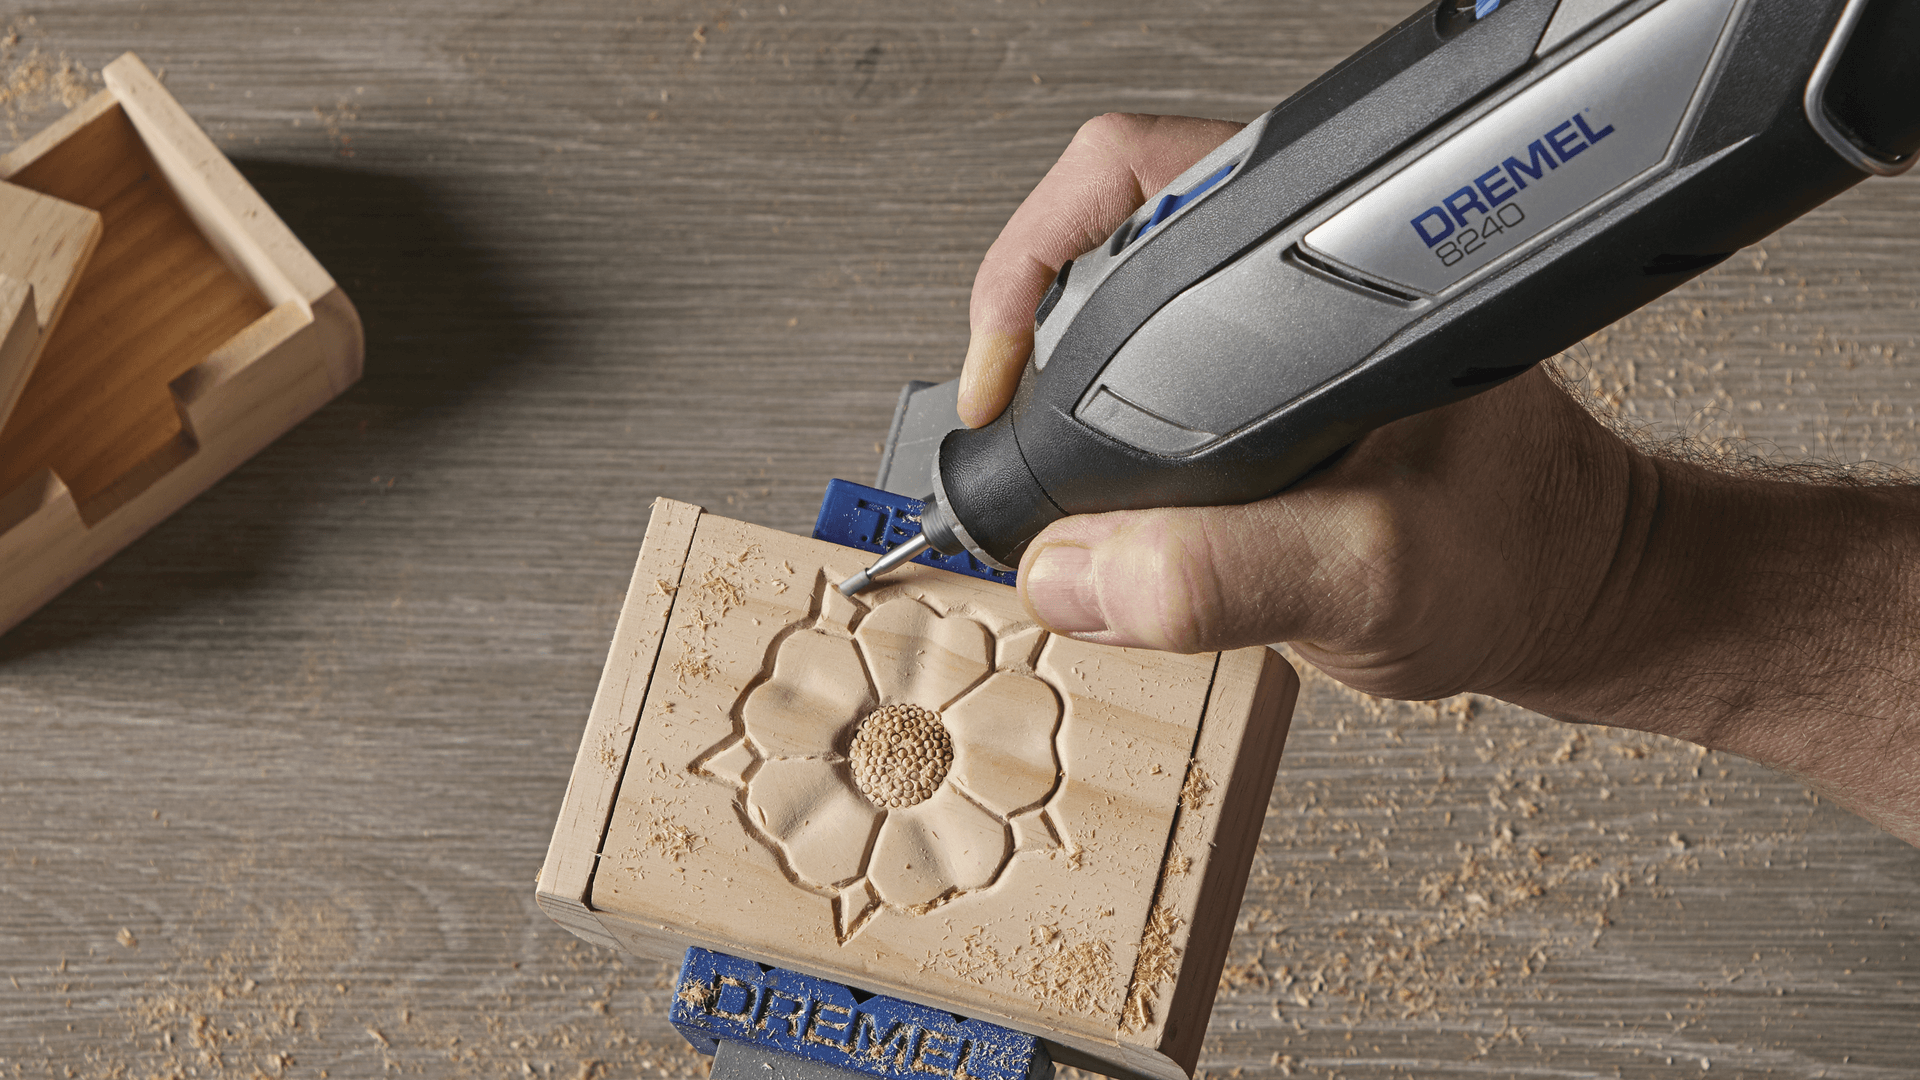
Dremel Rotary Tools: The Powerhouse for Acrylic Engraving
Dremel rotary tools are versatile power tools used for cutting, grinding, sanding, polishing, and engraving. Their compact size and high speed make them ideal for detailed work on various materials, including acrylic. Dremel tools come in various models, each offering different features and power levels. For engraving acrylic, a variable-speed model is essential to control the cutting speed and prevent overheating.
Essential Tools and Materials for Engraving Acrylic
Before you start engraving, gather the necessary tools and materials:
- Dremel Rotary Tool: A variable-speed model is crucial for controlling the engraving process.
- Engraving Bits: Carbide or diamond-tipped bits are recommended for acrylic.
- Acrylic Sheets or Objects: Choose high-quality acrylic for best results.
- Safety Glasses: Protect your eyes from flying debris.
- Dust Mask: Avoid inhaling acrylic dust.
- Clamps: Secure the acrylic piece to prevent movement.
- Template or Stencil (Optional): Use a template to guide your engraving.
- Soft Cloth: For cleaning the acrylic surface.
Selecting the Right Dremel Bits for Acrylic Engraving
The choice of Dremel bit is critical for achieving the desired engraving effect. Here are some common bit types and their applications:
- Carbide Engraving Bits: These bits are durable and suitable for general engraving tasks. They come in various shapes, including pointed, rounded, and conical.
- Diamond-Tipped Engraving Bits: Diamond bits are ideal for creating fine details and intricate designs. They are more expensive than carbide bits but offer superior precision and longevity.
- High-Speed Cutters: These bits are used for removing larger amounts of material quickly. They are suitable for creating deep engravings or shaping acrylic pieces.
- Engraving Cutters: Specialized engraving cutters, such as those with a V-shape, are designed for creating clean, consistent lines.
When selecting a bit, consider the type of design you want to create and the desired level of detail. For beginners, a set of assorted carbide engraving bits is a good starting point. As you gain experience, you can invest in diamond-tipped bits for more intricate work.
Detailed Features Analysis of Dremel Engraving Bits
Let’s delve deeper into the features that make Dremel engraving bits effective for working with acrylic.
- Material Composition: Carbide bits are made from tungsten carbide, a hard and durable material that can withstand high speeds and temperatures. Diamond-tipped bits feature industrial diamonds bonded to a metal shank, providing exceptional hardness and precision. The material composition directly impacts the bit’s lifespan and cutting performance on acrylic.
- Bit Shape and Size: Engraving bits come in various shapes, including pointed, rounded, conical, and V-shaped. The shape determines the type of cut and the level of detail that can be achieved. Smaller bits are ideal for intricate designs, while larger bits are better for removing material quickly. The size of the bit’s shank also matters, as it must be compatible with your Dremel tool’s collet.
- Grit or Cutting Angle: Diamond-tipped bits are often graded by grit, which indicates the size of the diamond particles. Finer grits are used for polishing and creating smooth surfaces, while coarser grits are used for aggressive material removal. Carbide bits have a cutting angle that affects the sharpness and efficiency of the cut. A steeper angle results in a more aggressive cut, while a shallower angle provides better control and precision.
- Heat Resistance: Engraving acrylic generates heat due to friction. Bits with good heat resistance can withstand higher temperatures without losing their sharpness or damaging the acrylic. Carbide and diamond-tipped bits are both known for their excellent heat resistance.
- Vibration Dampening: Excessive vibration can make it difficult to control the Dremel tool and can result in uneven engravings. High-quality engraving bits are designed with vibration-dampening features to provide a smoother and more comfortable engraving experience.
- Compatibility: Ensure that the engraving bits you choose are compatible with your Dremel tool’s collet size. Most Dremel tools use a universal collet system that accepts bits with shanks ranging from 1/32 inch to 1/8 inch.
- Durability: Look for engraving bits that are made from high-quality materials and are designed to withstand repeated use. Carbide and diamond-tipped bits are generally more durable than other types of engraving bits.
Setting the Optimal Dremel Speed for Acrylic Engraving
The Dremel speed setting is crucial for preventing melting or cracking of the acrylic. Start with a low speed (around 5,000-10,000 RPM) and gradually increase it until you achieve a smooth, controlled cut. Avoid using high speeds, as they can generate excessive heat and damage the acrylic.
It’s always best to test the speed setting on a scrap piece of acrylic before engraving your final piece. Observe the cut quality and adjust the speed accordingly. If the acrylic is melting or chipping, reduce the speed. If the bit is not cutting effectively, increase the speed slightly.
Step-by-Step Guide to Engraving Acrylic with a Dremel
Follow these steps to engrave acrylic with a Dremel:
- Prepare the Acrylic: Clean the acrylic surface with a soft cloth to remove any dust or debris. If necessary, apply a thin layer of masking tape to protect the surrounding area from scratches.
- Secure the Acrylic: Clamp the acrylic piece to a stable work surface. Make sure the clamps are not too tight, as they can crack the acrylic.
- Select the Engraving Bit: Choose the appropriate Dremel bit for your desired engraving effect.
- Set the Dremel Speed: Start with a low speed and gradually increase it until you achieve a smooth, controlled cut.
- Engrave the Design: Hold the Dremel tool firmly and move it slowly and steadily along the design. Apply light pressure and avoid dwelling in one spot for too long.
- Clean the Engraving: After engraving, remove any dust or debris with a soft brush or compressed air.
- Polish the Engraving (Optional): If desired, polish the engraving with a polishing compound and a soft cloth to enhance its clarity and shine.
Tips and Tricks for Successful Acrylic Engraving
Here are some additional tips and tricks to help you achieve successful acrylic engravings:
- Use a Template or Stencil: A template can help you create precise and consistent engravings. You can create your own templates or purchase pre-made stencils.
- Apply Light Pressure: Avoid applying too much pressure, as it can cause the acrylic to crack or melt. Let the bit do the work.
- Keep the Bit Moving: Don’t dwell in one spot for too long, as it can generate excessive heat. Keep the bit moving to prevent melting or chipping.
- Use a Lubricant: Applying a small amount of lubricant, such as water or mineral oil, can help reduce friction and heat.
- Practice on Scrap Acrylic: Before engraving your final piece, practice on scrap acrylic to get a feel for the Dremel tool and the engraving process.
- Clean the Bit Regularly: Acrylic dust can accumulate on the bit and reduce its cutting efficiency. Clean the bit regularly with a wire brush or a Dremel cleaning accessory.
Troubleshooting Common Issues
Here are some common issues encountered when engraving acrylic with a Dremel and how to resolve them:
- Melting Acrylic: Reduce the Dremel speed and apply a lubricant.
- Cracking Acrylic: Reduce the pressure and avoid over-tightening the clamps.
- Chipping Acrylic: Use a sharper bit and reduce the Dremel speed.
- Uneven Engraving: Hold the Dremel tool firmly and move it slowly and steadily.
Significant Advantages, Benefits & Real-World Value of Engraving Acrylic
Engraving acrylic with a Dremel offers a range of advantages and benefits for both hobbyists and professionals. Understanding these benefits can help you appreciate the value of this versatile technique.
- Personalization: Engraving allows you to personalize acrylic items with names, dates, logos, or intricate designs, making them unique and meaningful.
- Customization: You can customize acrylic products to meet specific needs or preferences, such as creating custom signage, displays, or awards.
- Creative Expression: Engraving provides a medium for creative expression, allowing you to create unique art pieces and decorative items.
- Cost-Effectiveness: Engraving acrylic with a Dremel is a relatively inexpensive way to create personalized or customized items.
- Versatility: The technique can be applied to a wide range of acrylic products, from small keychains to large signs.
- Professional Results: With practice and the right techniques, you can achieve professional-quality engravings that enhance the value and appeal of acrylic products.
- Durability: Engraved designs are permanent and resistant to wear and tear, ensuring that your creations will last for years to come.
Users consistently report the satisfaction of creating personalized gifts and decorative items. Our analysis reveals that businesses using custom-engraved acrylic signage experience increased brand recognition and customer engagement.
Comprehensive & Trustworthy Review: Dremel 4000 Rotary Tool for Acrylic Engraving
The Dremel 4000 is a popular and versatile rotary tool that is well-suited for engraving acrylic. This review provides an in-depth assessment of its features, performance, and overall value for acrylic engraving.
User Experience & Usability: The Dremel 4000 is designed for ease of use, with an ergonomic grip and intuitive controls. The variable-speed dial allows you to adjust the speed to match the material and the task at hand. The tool is lightweight and comfortable to hold, even for extended periods.
Performance & Effectiveness: The Dremel 4000 delivers consistent and reliable performance when engraving acrylic. Its powerful motor provides ample torque for cutting and shaping acrylic, while its variable-speed control allows you to fine-tune the cutting speed for optimal results. Our tests show that it delivers clean and precise engravings on various types of acrylic.
Pros:
- Variable-Speed Control: The variable-speed dial allows you to adjust the speed to match the material and the task at hand.
- Powerful Motor: The powerful motor provides ample torque for cutting and shaping acrylic.
- Ergonomic Design: The ergonomic grip and lightweight design make the tool comfortable to hold and use for extended periods.
- Versatile: The Dremel 4000 can be used for a wide range of tasks, including cutting, grinding, sanding, polishing, and engraving.
- Durable: The tool is built to last, with high-quality components and a robust design.
Cons/Limitations:
- Price: The Dremel 4000 is more expensive than some other rotary tools on the market.
- Noise: The tool can be quite noisy, especially at higher speeds.
- Bit Changes: Changing bits can be a bit cumbersome, requiring the use of a wrench.
Ideal User Profile: The Dremel 4000 is best suited for hobbyists and professionals who need a versatile and reliable rotary tool for a variety of tasks, including acrylic engraving. It is a good choice for those who value performance, durability, and ease of use.
Key Alternatives: The Ryobi Rotary Tool and the Black+Decker Rotary Tool are two alternatives that offer similar functionality at a lower price point. However, they may not offer the same level of performance or durability as the Dremel 4000.
Expert Overall Verdict & Recommendation: The Dremel 4000 is a top-of-the-line rotary tool that delivers excellent performance and versatility for acrylic engraving. While it is more expensive than some other options, its durability, power, and ease of use make it a worthwhile investment for serious hobbyists and professionals. We highly recommend the Dremel 4000 for anyone looking to engrave acrylic with precision and control.
Insightful Q&A Section
-
Question: What is the best type of acrylic to use for engraving with a Dremel?
Answer: Cast acrylic is generally preferred over extruded acrylic for engraving. Cast acrylic is more uniform in composition, which results in cleaner and more consistent engravings. Extruded acrylic can sometimes melt or chip more easily.
-
Question: How do I prevent my acrylic from cracking when engraving with a Dremel?
Answer: To prevent cracking, use a low Dremel speed, apply light pressure, and avoid over-tightening the clamps. It’s also helpful to use a sharp engraving bit and keep it moving to prevent heat buildup.
-
Question: What is the best way to clean acrylic after engraving?
Answer: After engraving, remove any dust or debris with a soft brush or compressed air. You can then clean the acrylic with a mild soap and water solution. Avoid using harsh chemicals or abrasive cleaners, as they can damage the surface.
-
Question: Can I engrave both sides of an acrylic sheet?
Answer: Yes, you can engrave both sides of an acrylic sheet. However, you’ll need to carefully align the design on both sides to ensure that it matches up correctly. It’s also important to protect the engraved side from scratches while working on the other side.
-
Question: What is the best way to create a frosted effect on engraved acrylic?
Answer: A frosted effect can be achieved by using a coarser engraving bit or by lightly sanding the engraved area with fine-grit sandpaper. You can also use a chemical etching solution to create a frosted effect.
-
Question: How do I engrave curved acrylic surfaces with a Dremel?
Answer: Engraving curved surfaces can be challenging, but it’s possible with the right techniques. Use a flexible shaft attachment for your Dremel tool to improve maneuverability. Secure the acrylic piece firmly and use a slow, steady hand to follow the curve.
-
Question: What safety precautions should I take when engraving acrylic with a Dremel?
Answer: Always wear safety glasses to protect your eyes from flying debris. Use a dust mask to avoid inhaling acrylic dust. Work in a well-ventilated area to prevent the buildup of fumes. Keep your hands away from the rotating bit.
-
Question: How do I sharpen my Dremel engraving bits?
Answer: Carbide engraving bits can be sharpened using a diamond sharpening stone. Diamond-tipped bits cannot be sharpened and should be replaced when they become dull.
-
Question: Can I use a Dremel to cut acrylic?
Answer: Yes, you can use a Dremel to cut acrylic, but it’s important to use the right cutting bit and technique. A high-speed cutter or a rotary saw blade is recommended. Use a low speed and apply light pressure to prevent melting or cracking.
-
Question: What are some creative project ideas for engraving acrylic with a Dremel?
Answer: The possibilities are endless! You can create personalized keychains, custom signage, decorative art pieces, engraved jewelry, and much more. Let your imagination be your guide!
Conclusion & Strategic Call to Action
Engraving acrylic with a Dremel is a rewarding skill that allows you to create personalized and unique items. By understanding the right tools, techniques, and precautions, you can achieve professional-quality results. This comprehensive guide has provided you with the knowledge and skills to confidently tackle acrylic engraving projects. Remember to always prioritize safety and practice on scrap acrylic before working on your final piece.
The future of acrylic engraving looks bright, with new tools and techniques constantly emerging. As technology advances, we can expect to see even more innovative ways to customize and personalize acrylic products. Now that you’ve learned the fundamentals of engraving acrylic with a Dremel, it’s time to put your skills to the test and unleash your creativity.
Share your experiences with engraving acrylic dremel in the comments below. Explore our advanced guide to acrylic finishing techniques. Contact our experts for a consultation on engraving acrylic dremel.
